Hiking the Salkantay Trek to Machu Picchu: Self-Guided Itinerary
I hiked the Salkantay Trek self-guided in April, near the end of the rainy season, and found it surprisingly easy to organize with a bit of research and advice from other travelers. While some hikers book accommodations day by day without issues, we reserved everything in advance, which I’d especially recommend during high season for peace of mind.
The trail itself is fairly straightforward to follow, but downloading the route on AllTrails is still helpful for reference. I’d also recommend screenshotting and pinning your accommodations before starting the trek, since phone service is extremely limited outside of the camps and towns along the route.
Here is my day-by-day guide to the Salkantay Trek, self-guided from Cusco, along with how much I spent (2026 prices).
Day 1: Arrival & Humantay Lake
If you stay at Soraypampa Hostel, they offer a shared shuttle from Cusco departing at 5:00 AM for 50 soles, which is a good deal. The shuttle drops you close to the hostel.
Otherwise, if you want to leave later, you’ll need to take a collectivo to Mollepata and then likely hire a taxi for the remainder of the trip to Soraypampa.
After arriving, the main activity is hiking to Humantay Lake. The hike takes about 45–75 minutes up and is a great way to ease into trekking at high altitude. Unless you’re already accustomed to high altitude, you’ll likely start to feel its effects here. At the top, you’ll reach a stunning glacial lake known not only for its vivid blue water but also for its cultural and spiritual significance. Locals consider the surrounding mountain an Apu, or mountain spirit.
Accommodation
I stayed at Soraypampa Hostel for approximately $24 USD total (83 soles), which included my breakfast and dinner, and shared a full-size bed in a dorm with my friend. We reserved our stay in advance here through Booking.com.
The beds were comfortable, the blankets kept us warm, the bathrooms and showers were up to date, they had wifi, and there’s a small convenience store on-site for snacks, water, and basic supplies. They are strict on meal times, though, and dinner for everyone was vegetarian.
Additional Costs at Soraypampa Hostel
Breakfast: ~20 soles (6 USD)
Lunch upon arrival if you choose their shuttle: ~25 soles (7.50 USD)
Dinner: ~20 soles (6 USD)
Sandwich for the next day: ~12 soles (3.50 USD)
Day 2: The Salkantay Pass
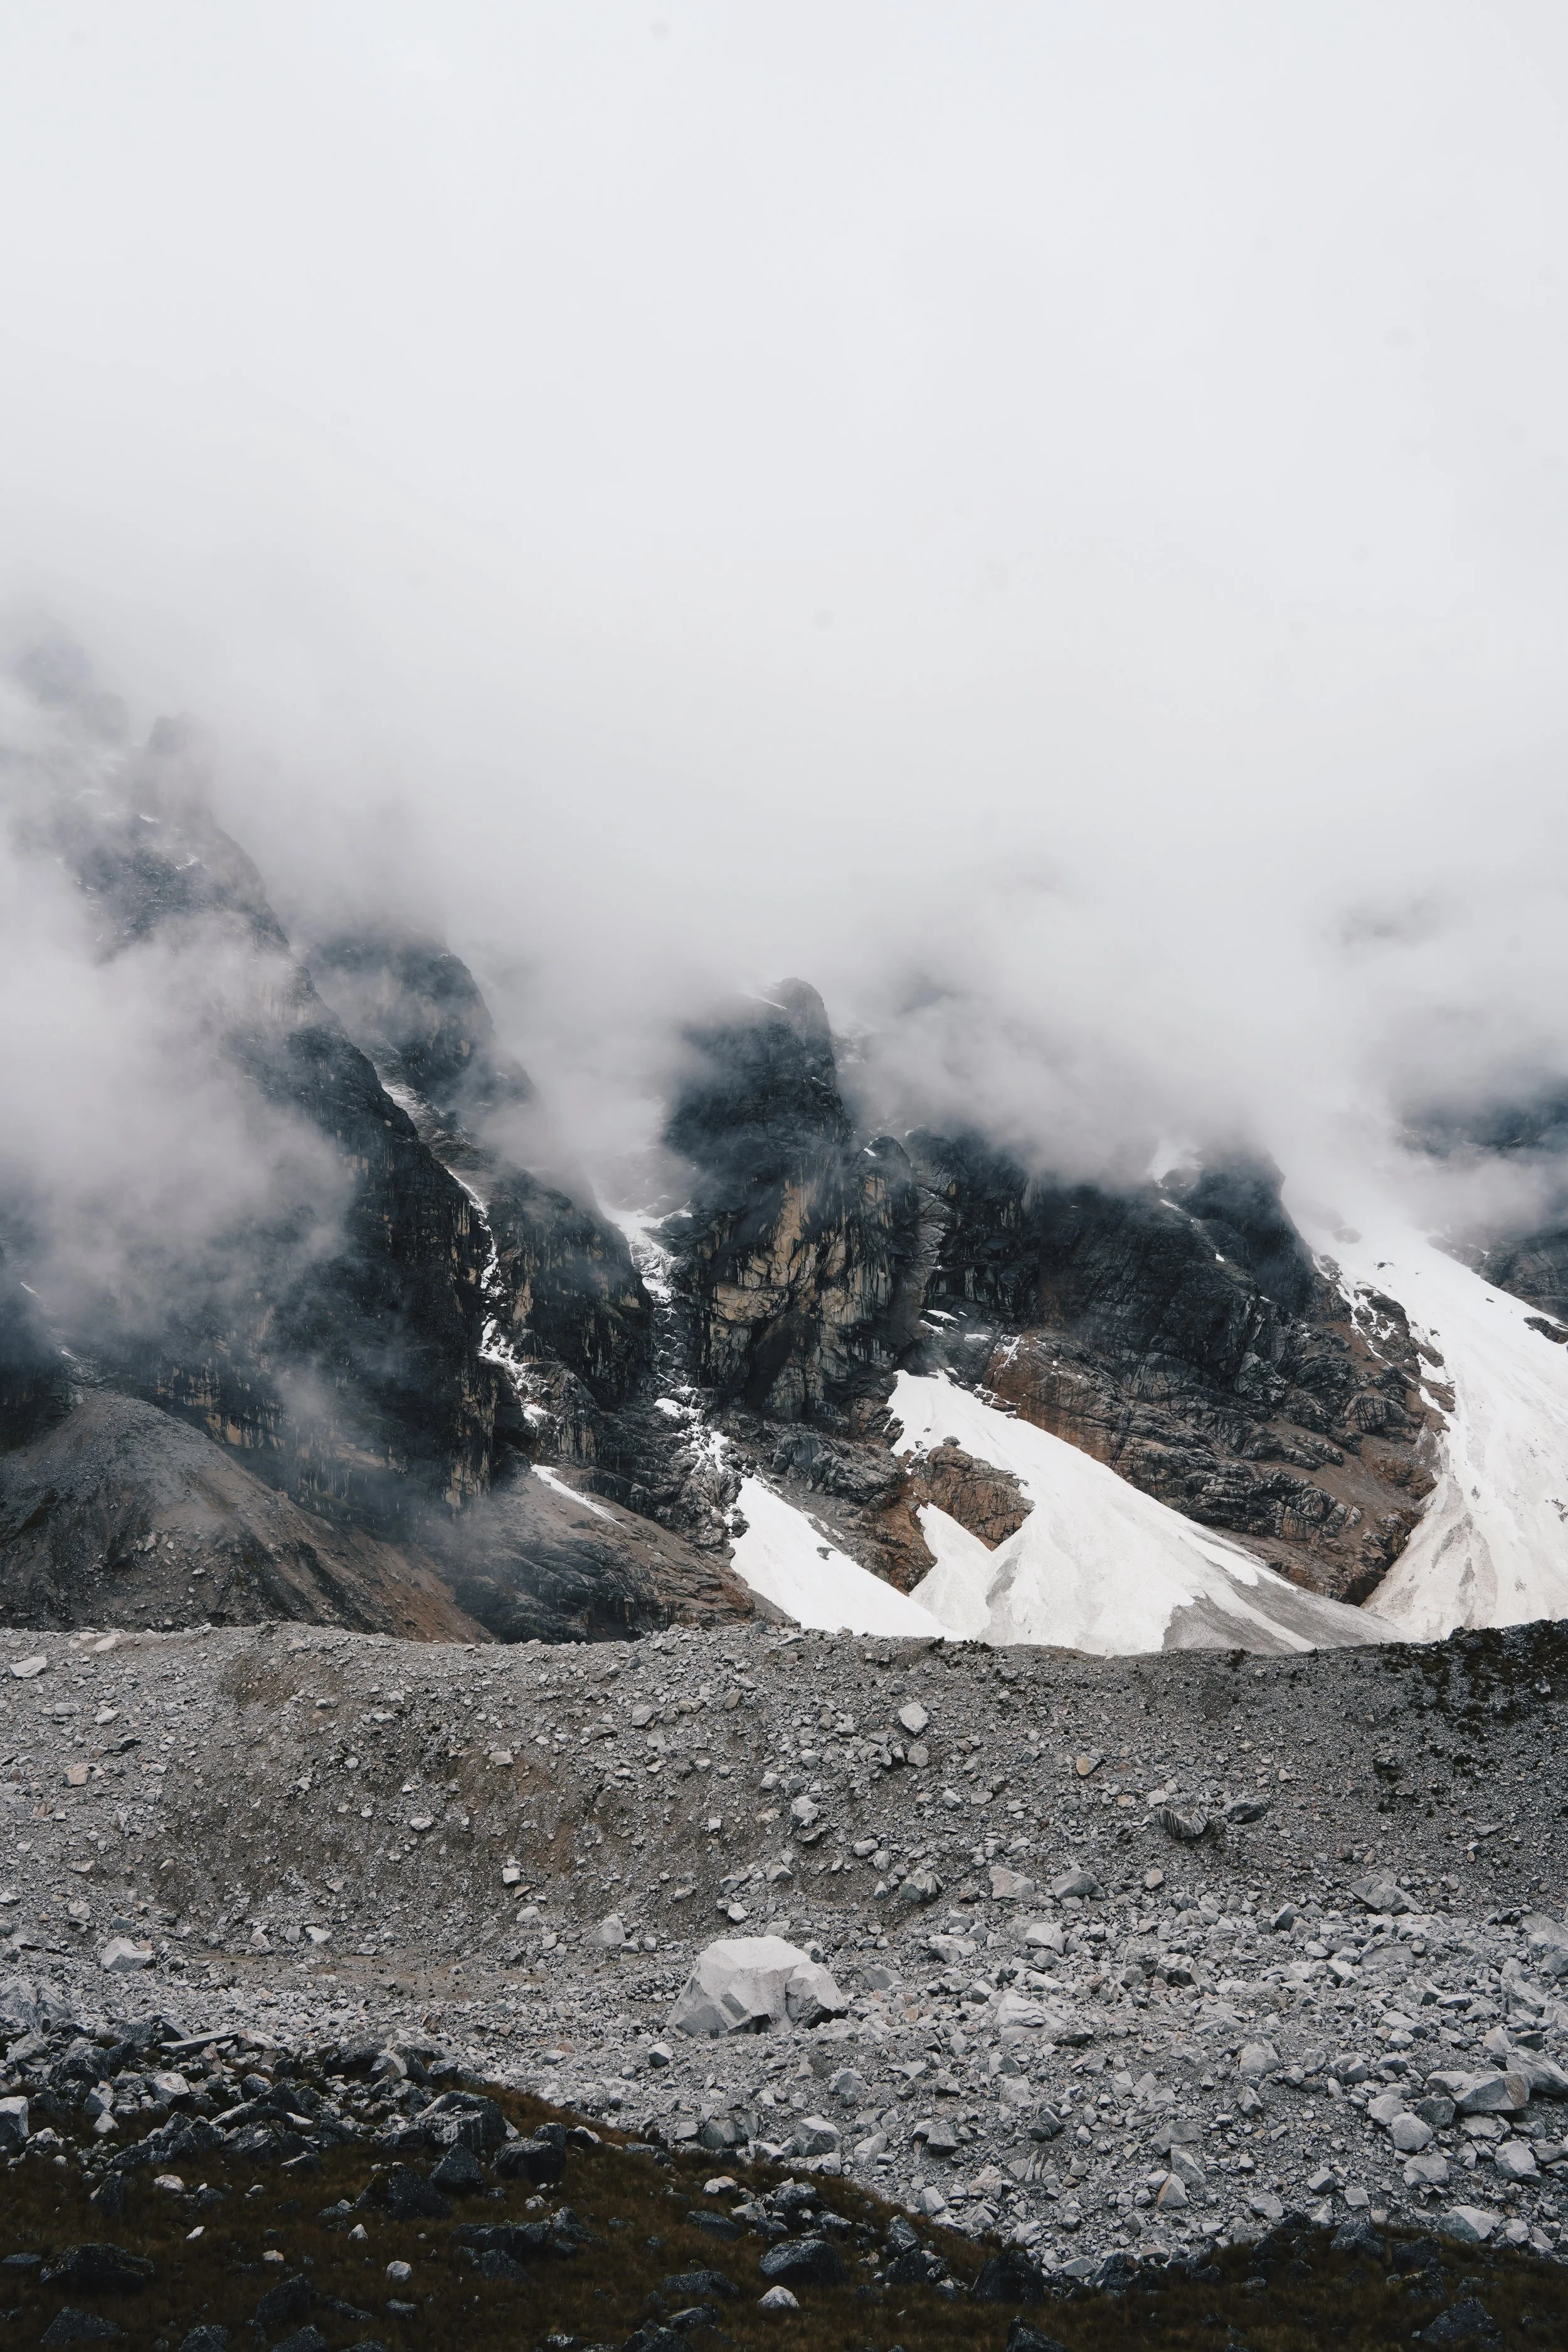
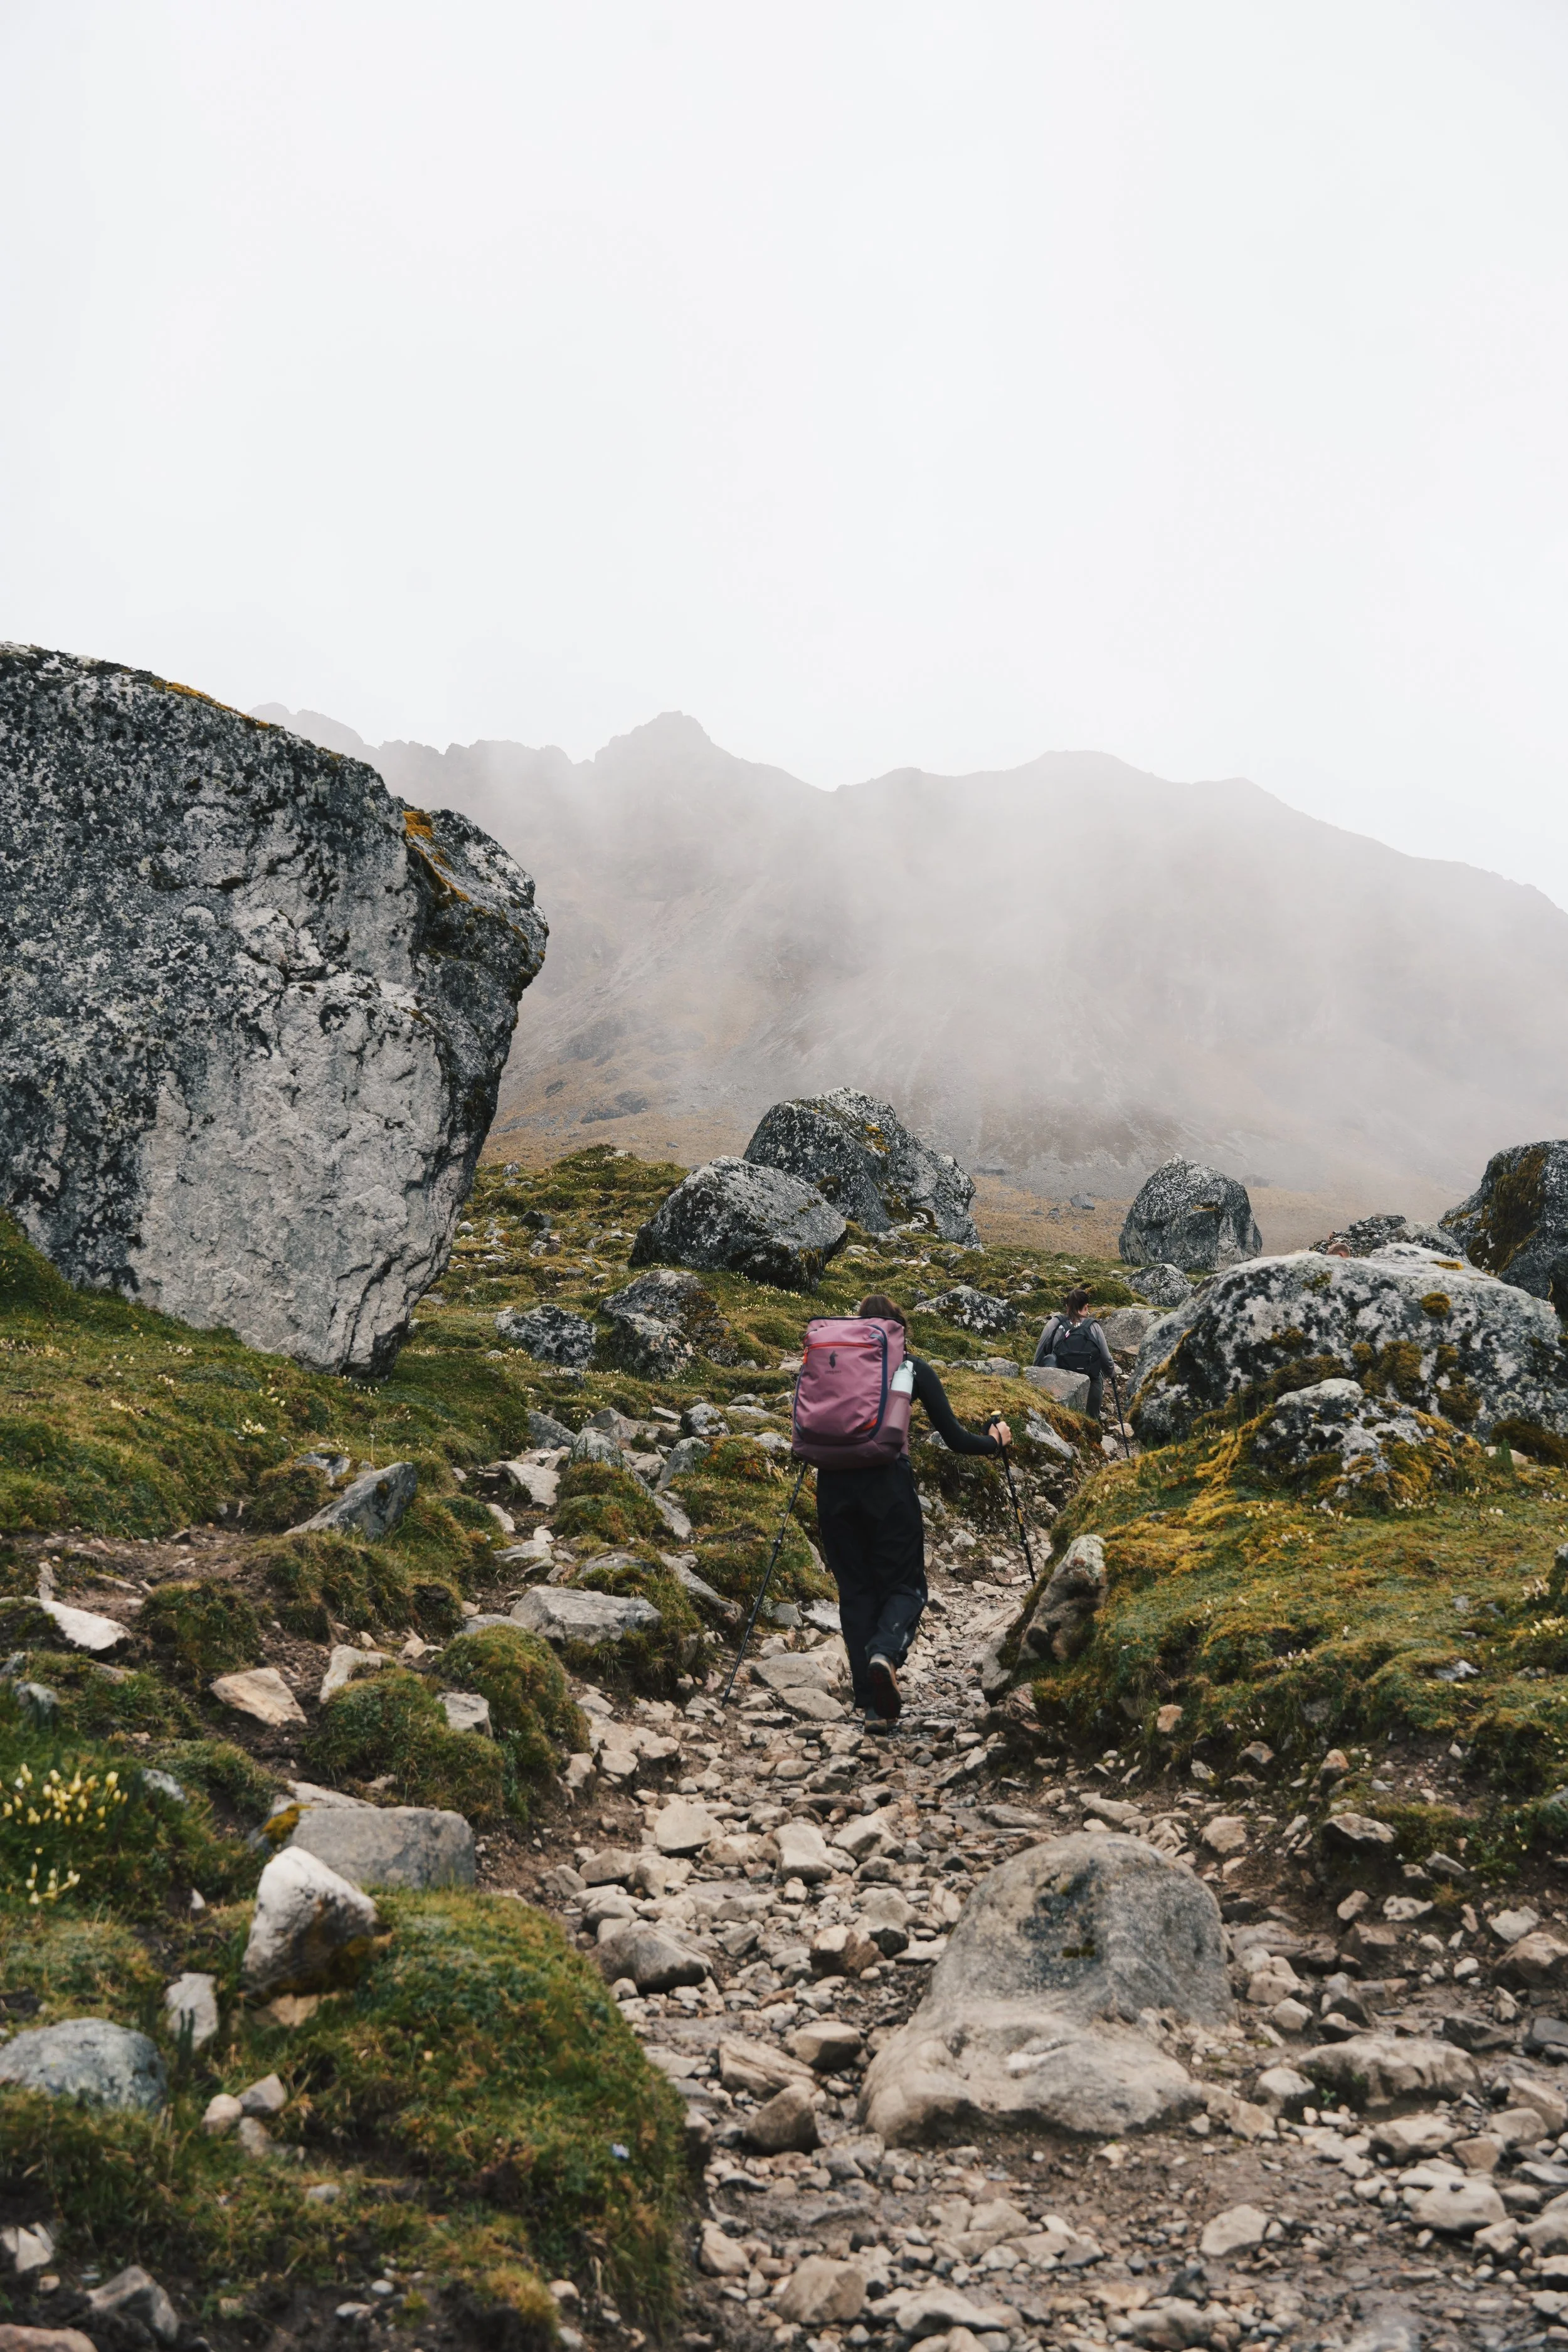
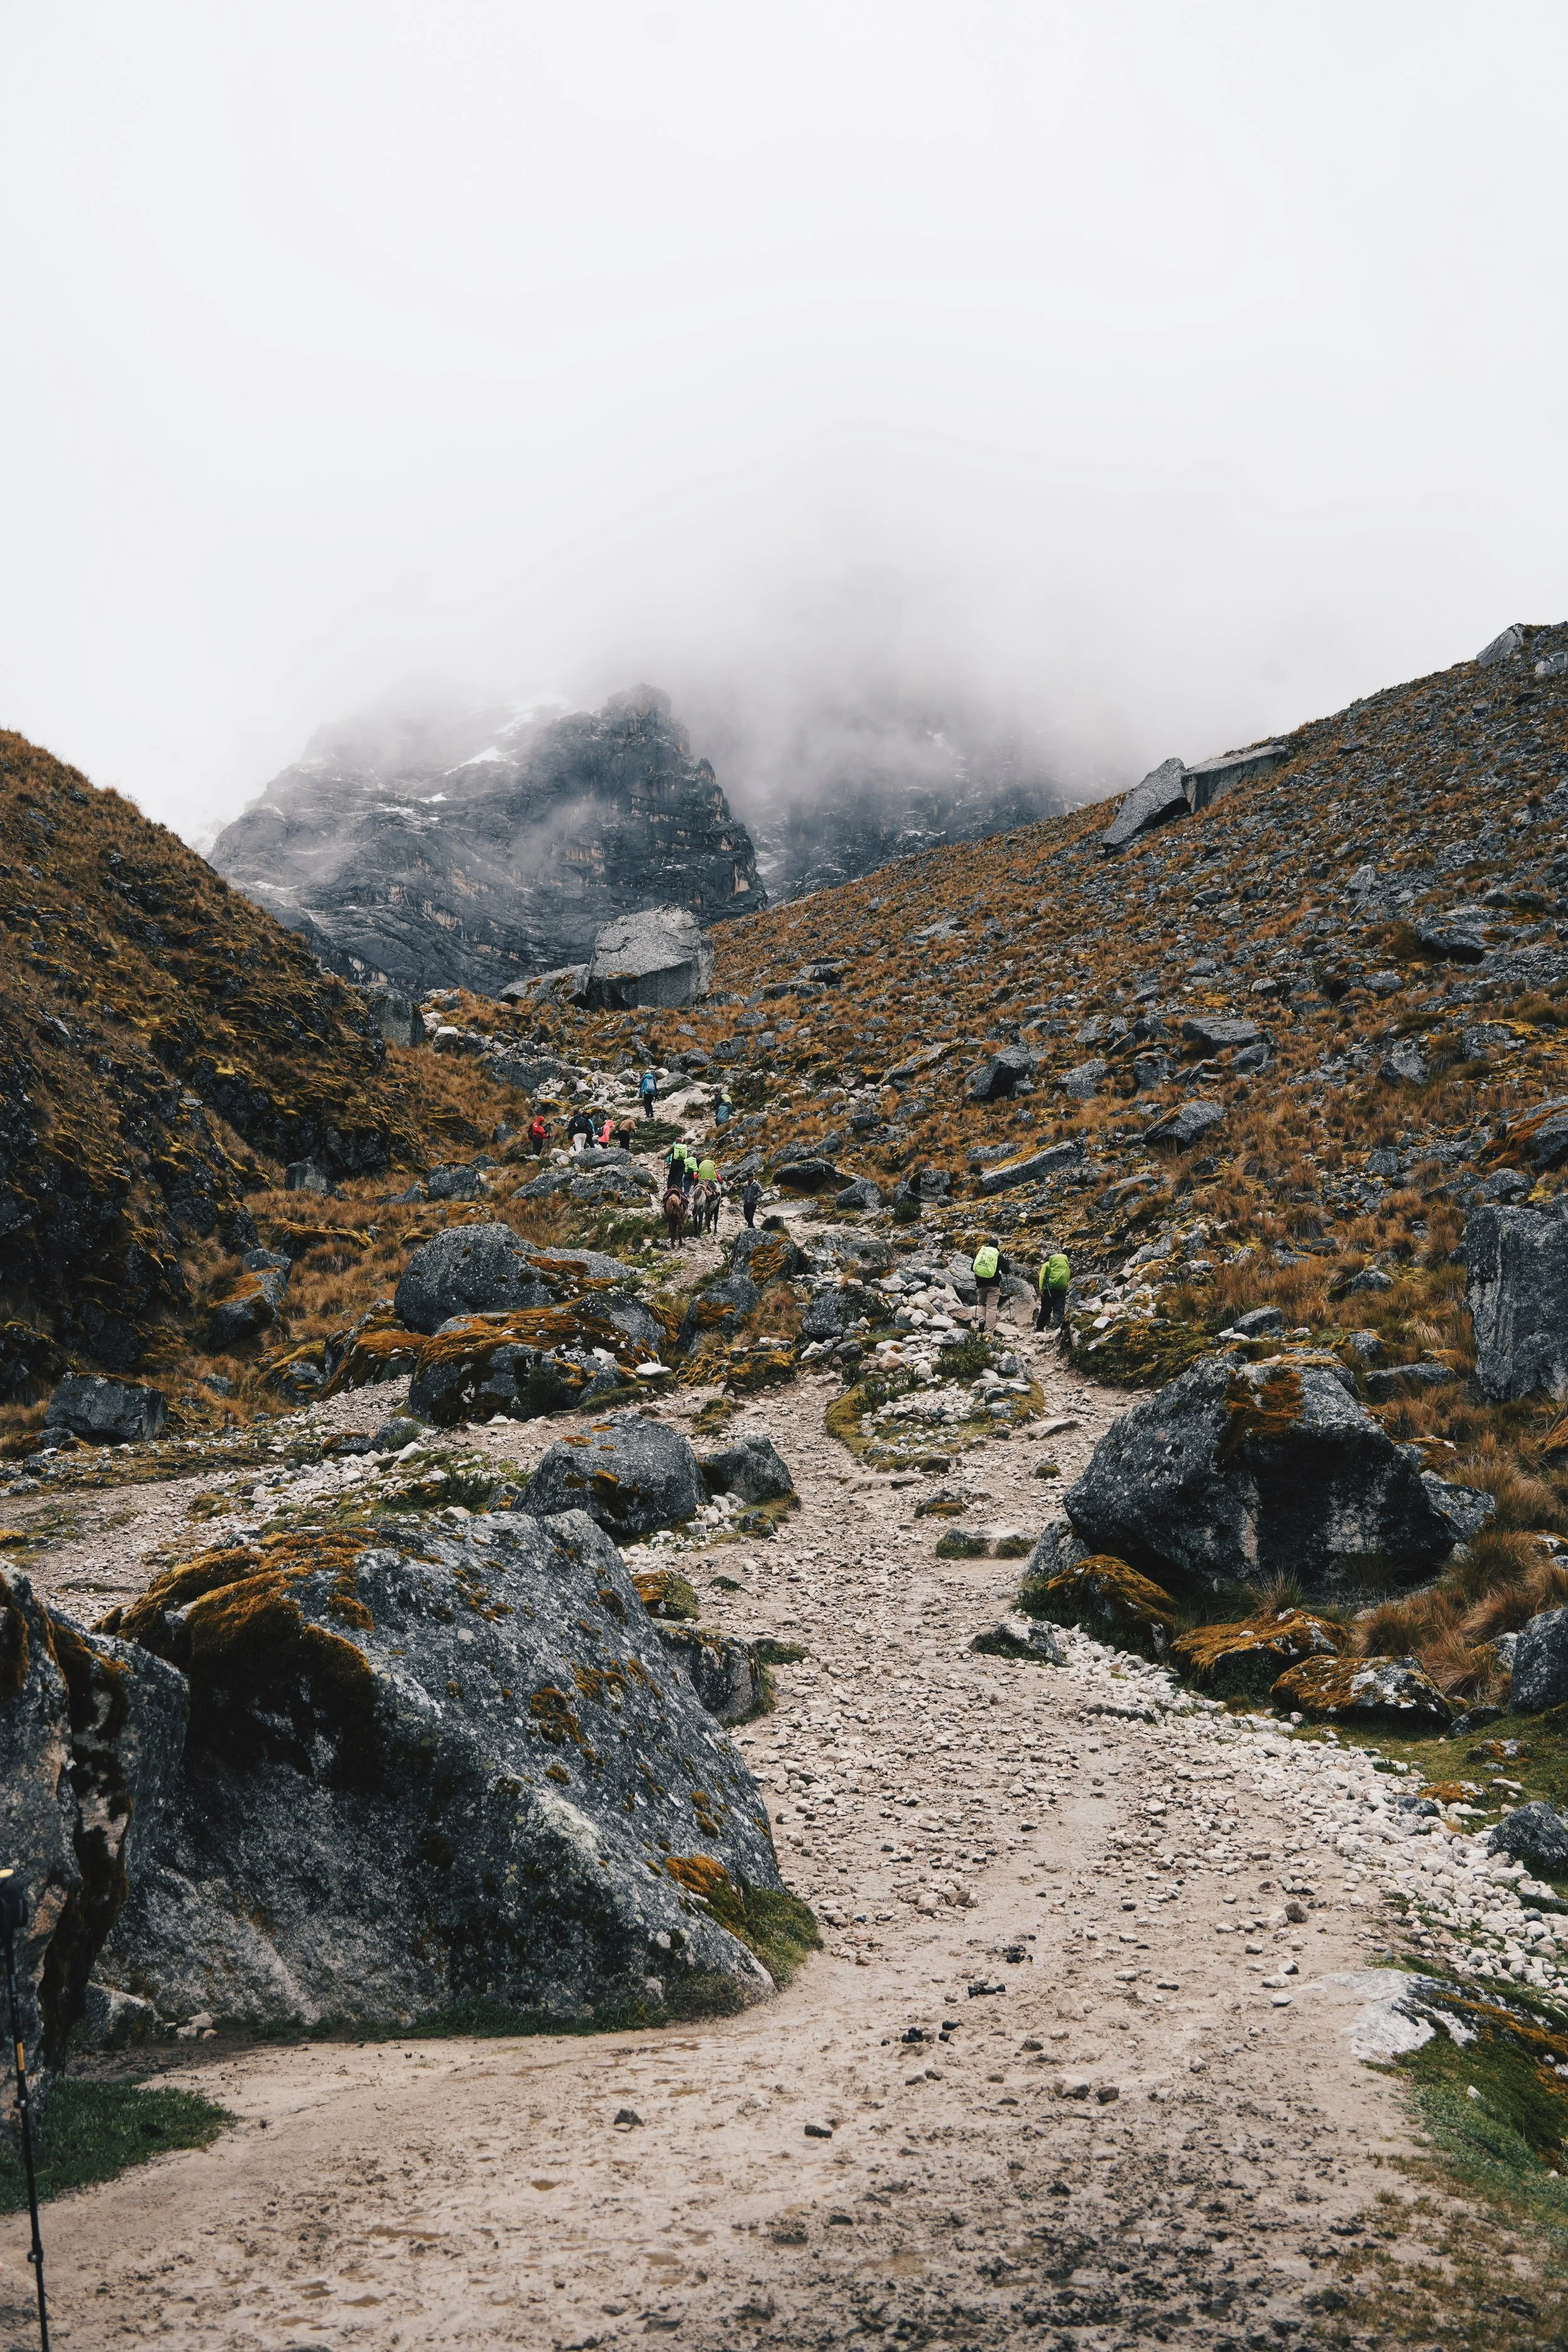
Day 2 is the toughest part of the trek, especially if you aren’t fully acclimated to the altitude. The trail climbs to Salkantay Pass at roughly 4,600 meters (15,100 feet), but once you reach the top, the hardest part is behind you.
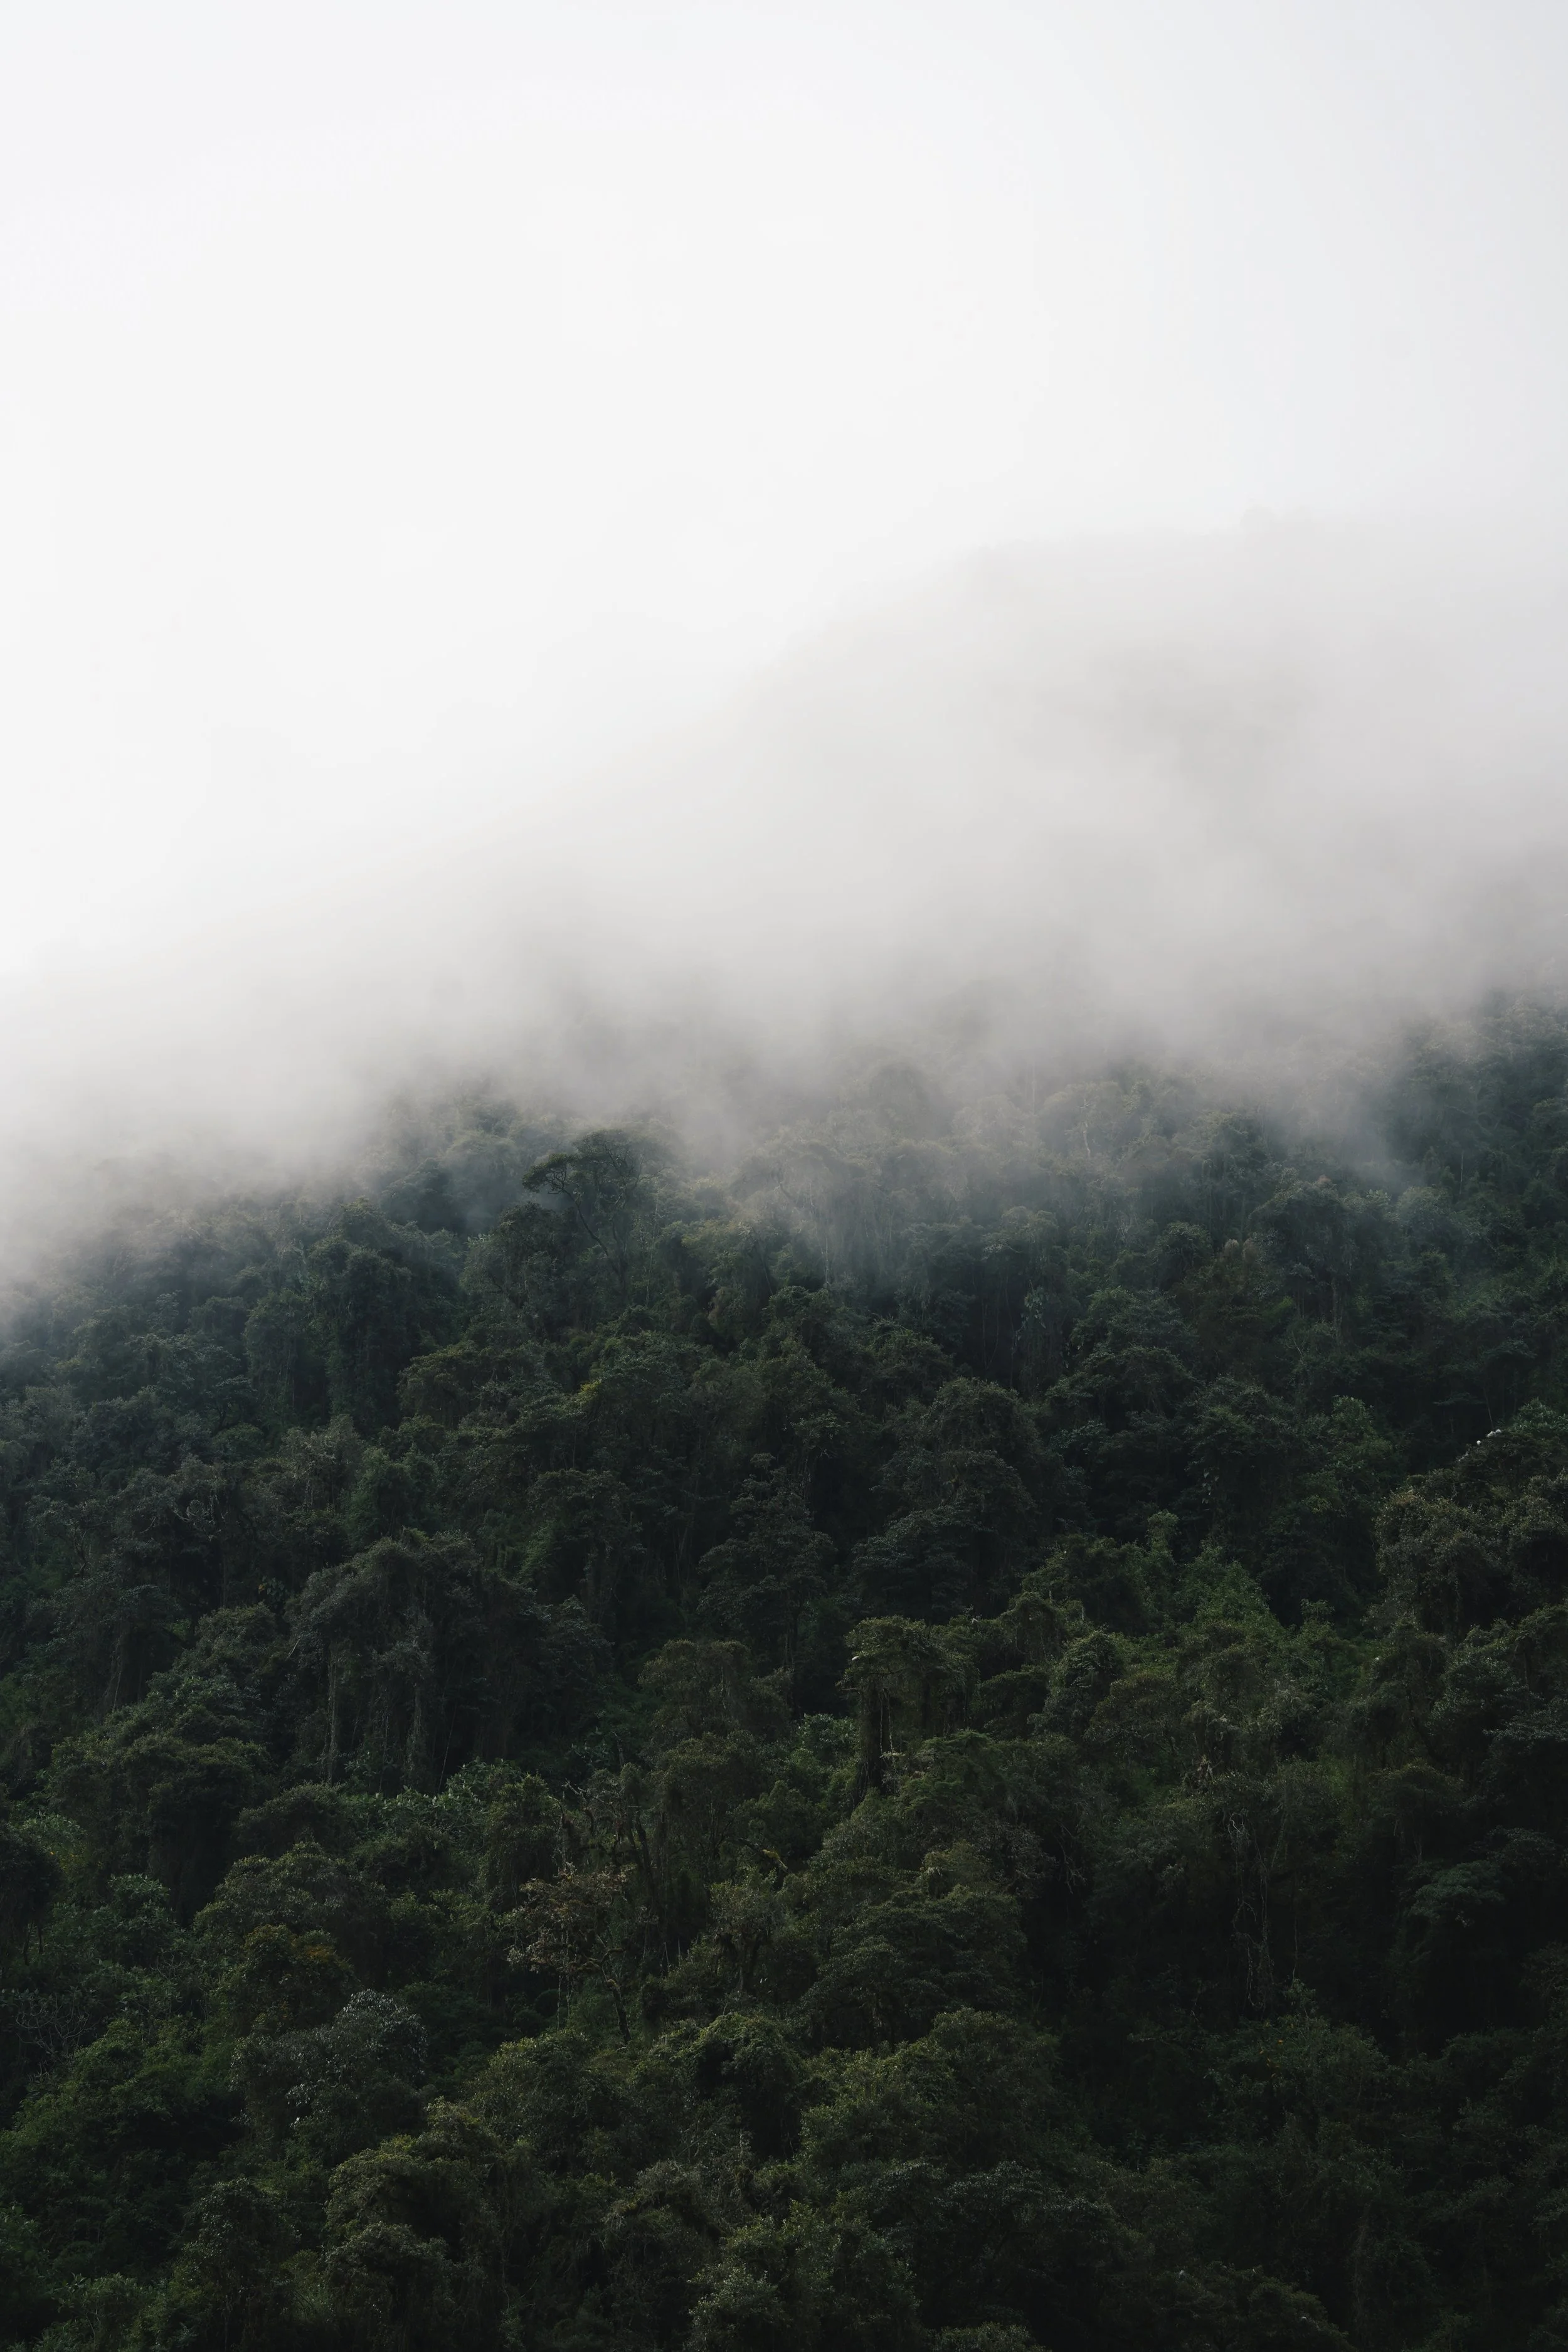
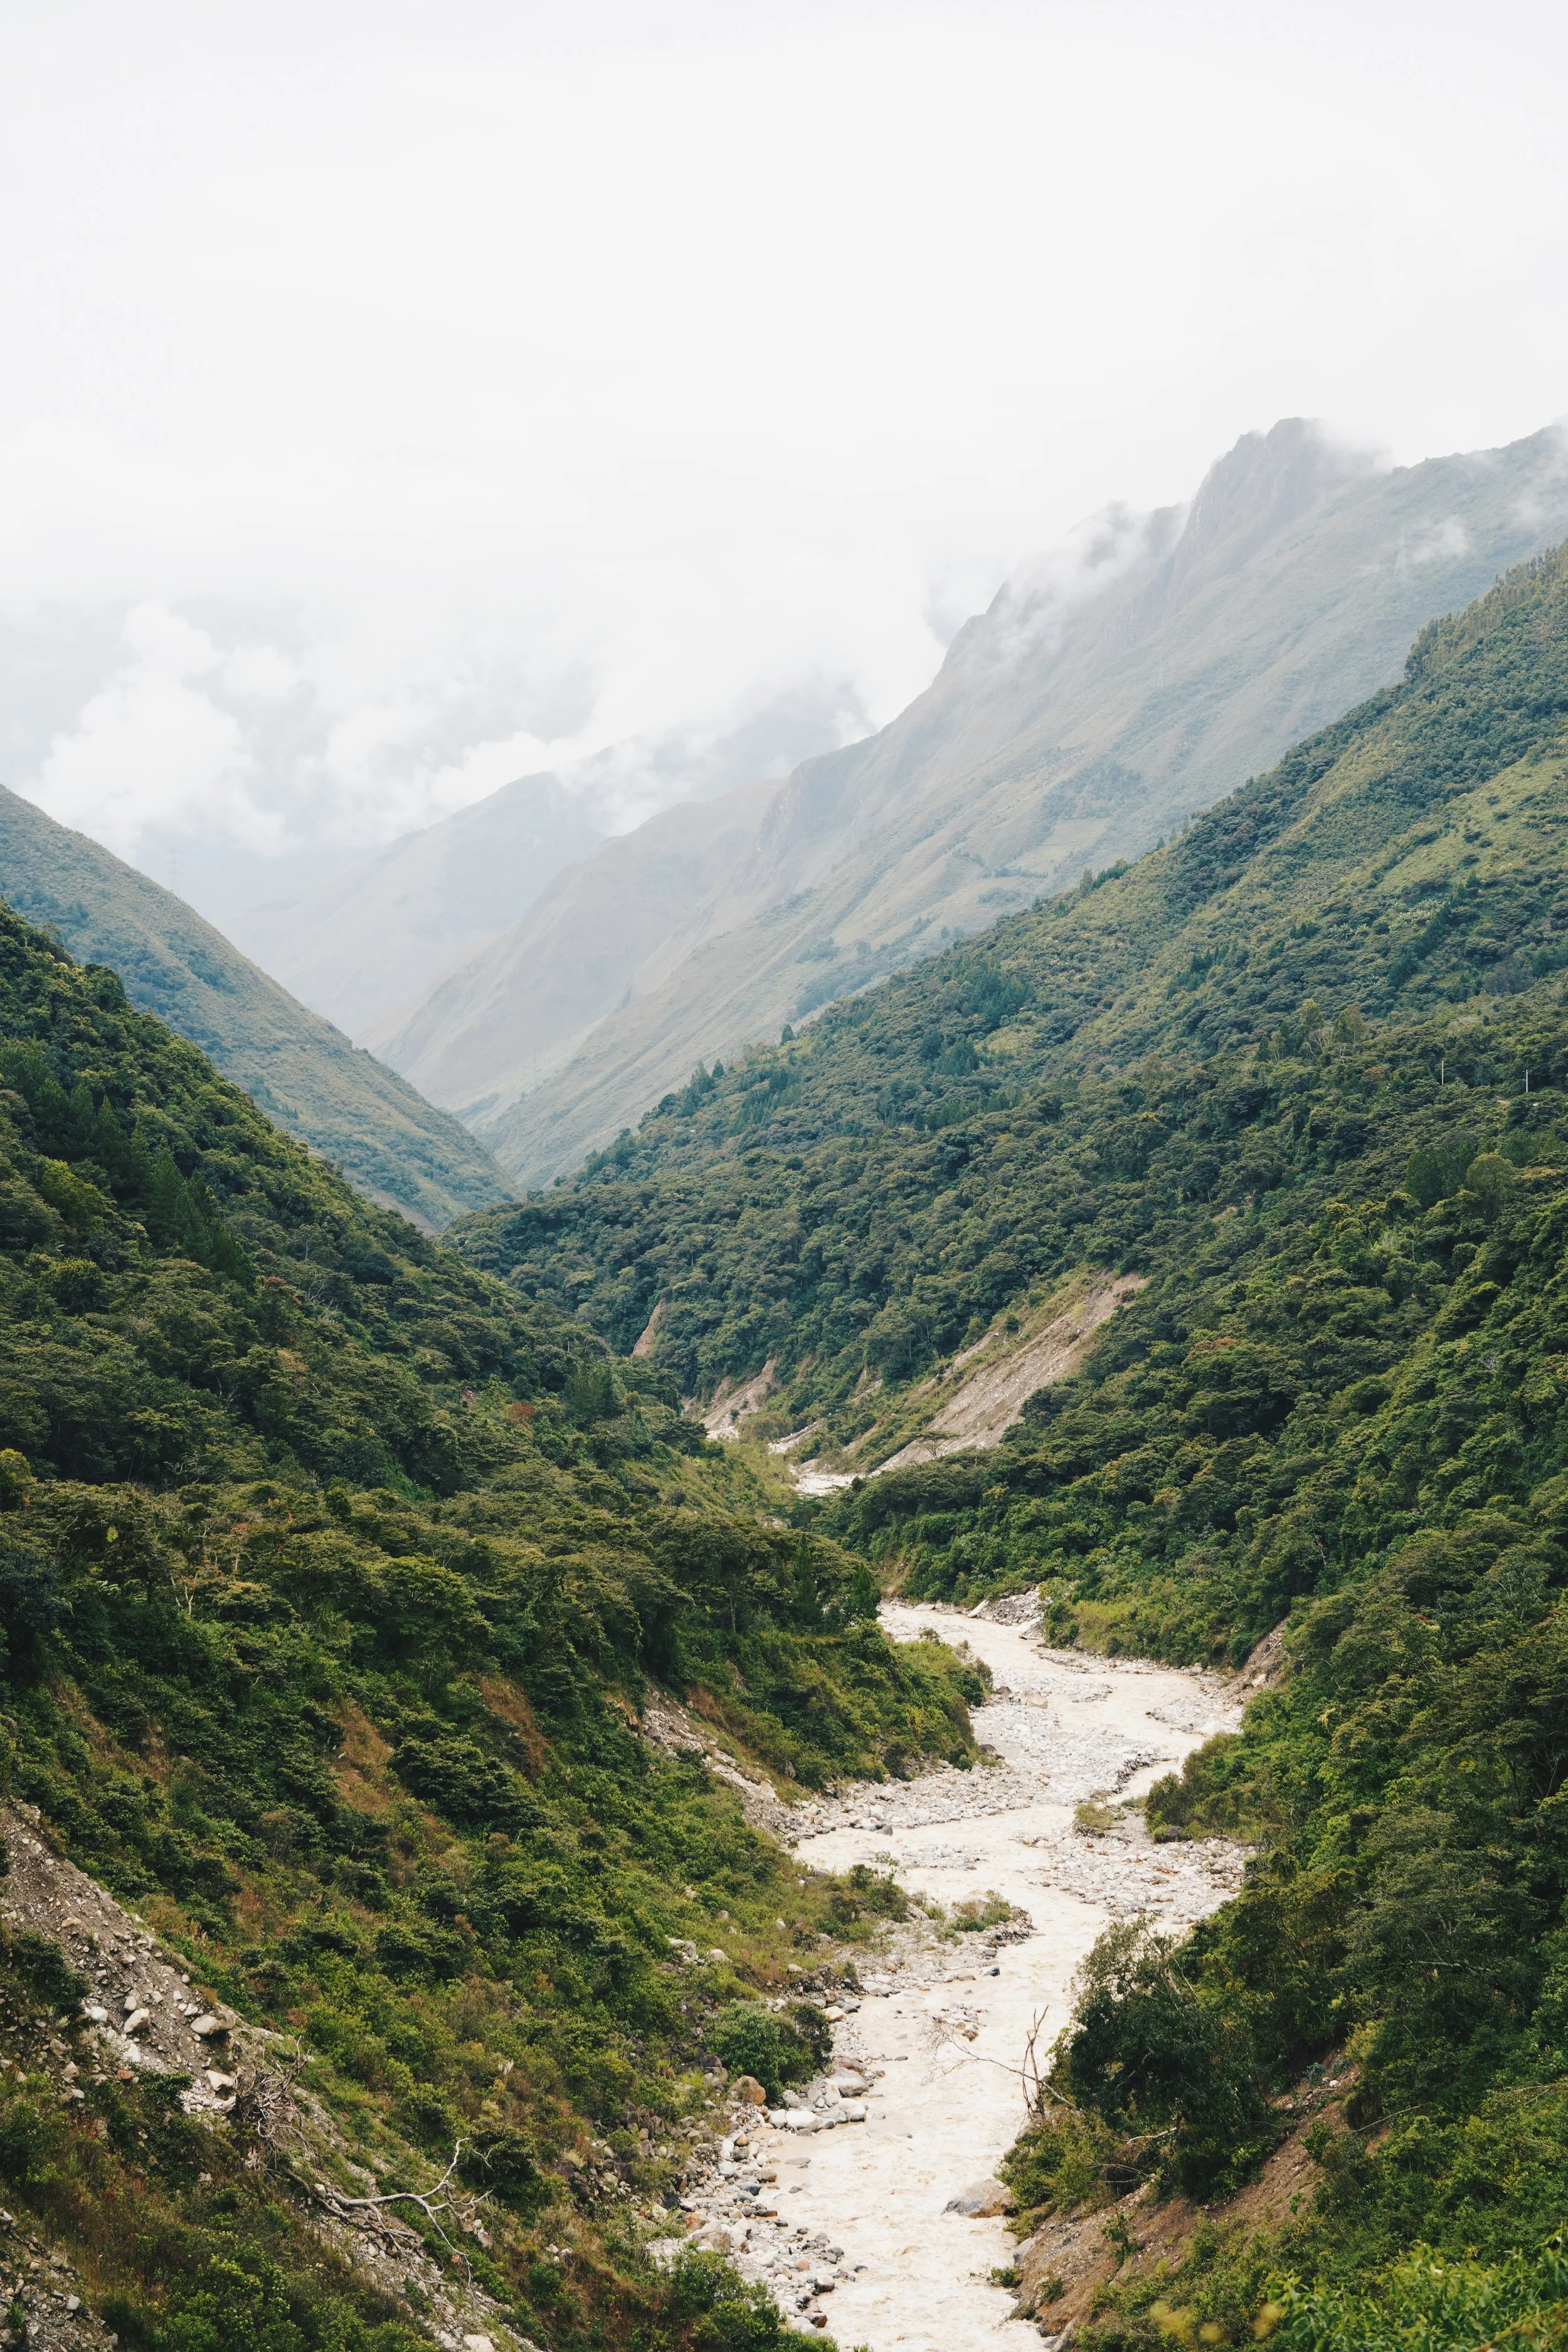
We covered around 13.5 miles with over 3,000 feet of elevation gain. The landscape changes constantly throughout the day. You start in chillier alpine terrain before descending toward the edge of the rainforest. I was in awe seeing the lush greenery contrasted with the snow-capped mountains.
Many guided tours only hike to the pass, so the trail becomes noticeably quieter after the summit, but you still won’t be alone.
Accommodation
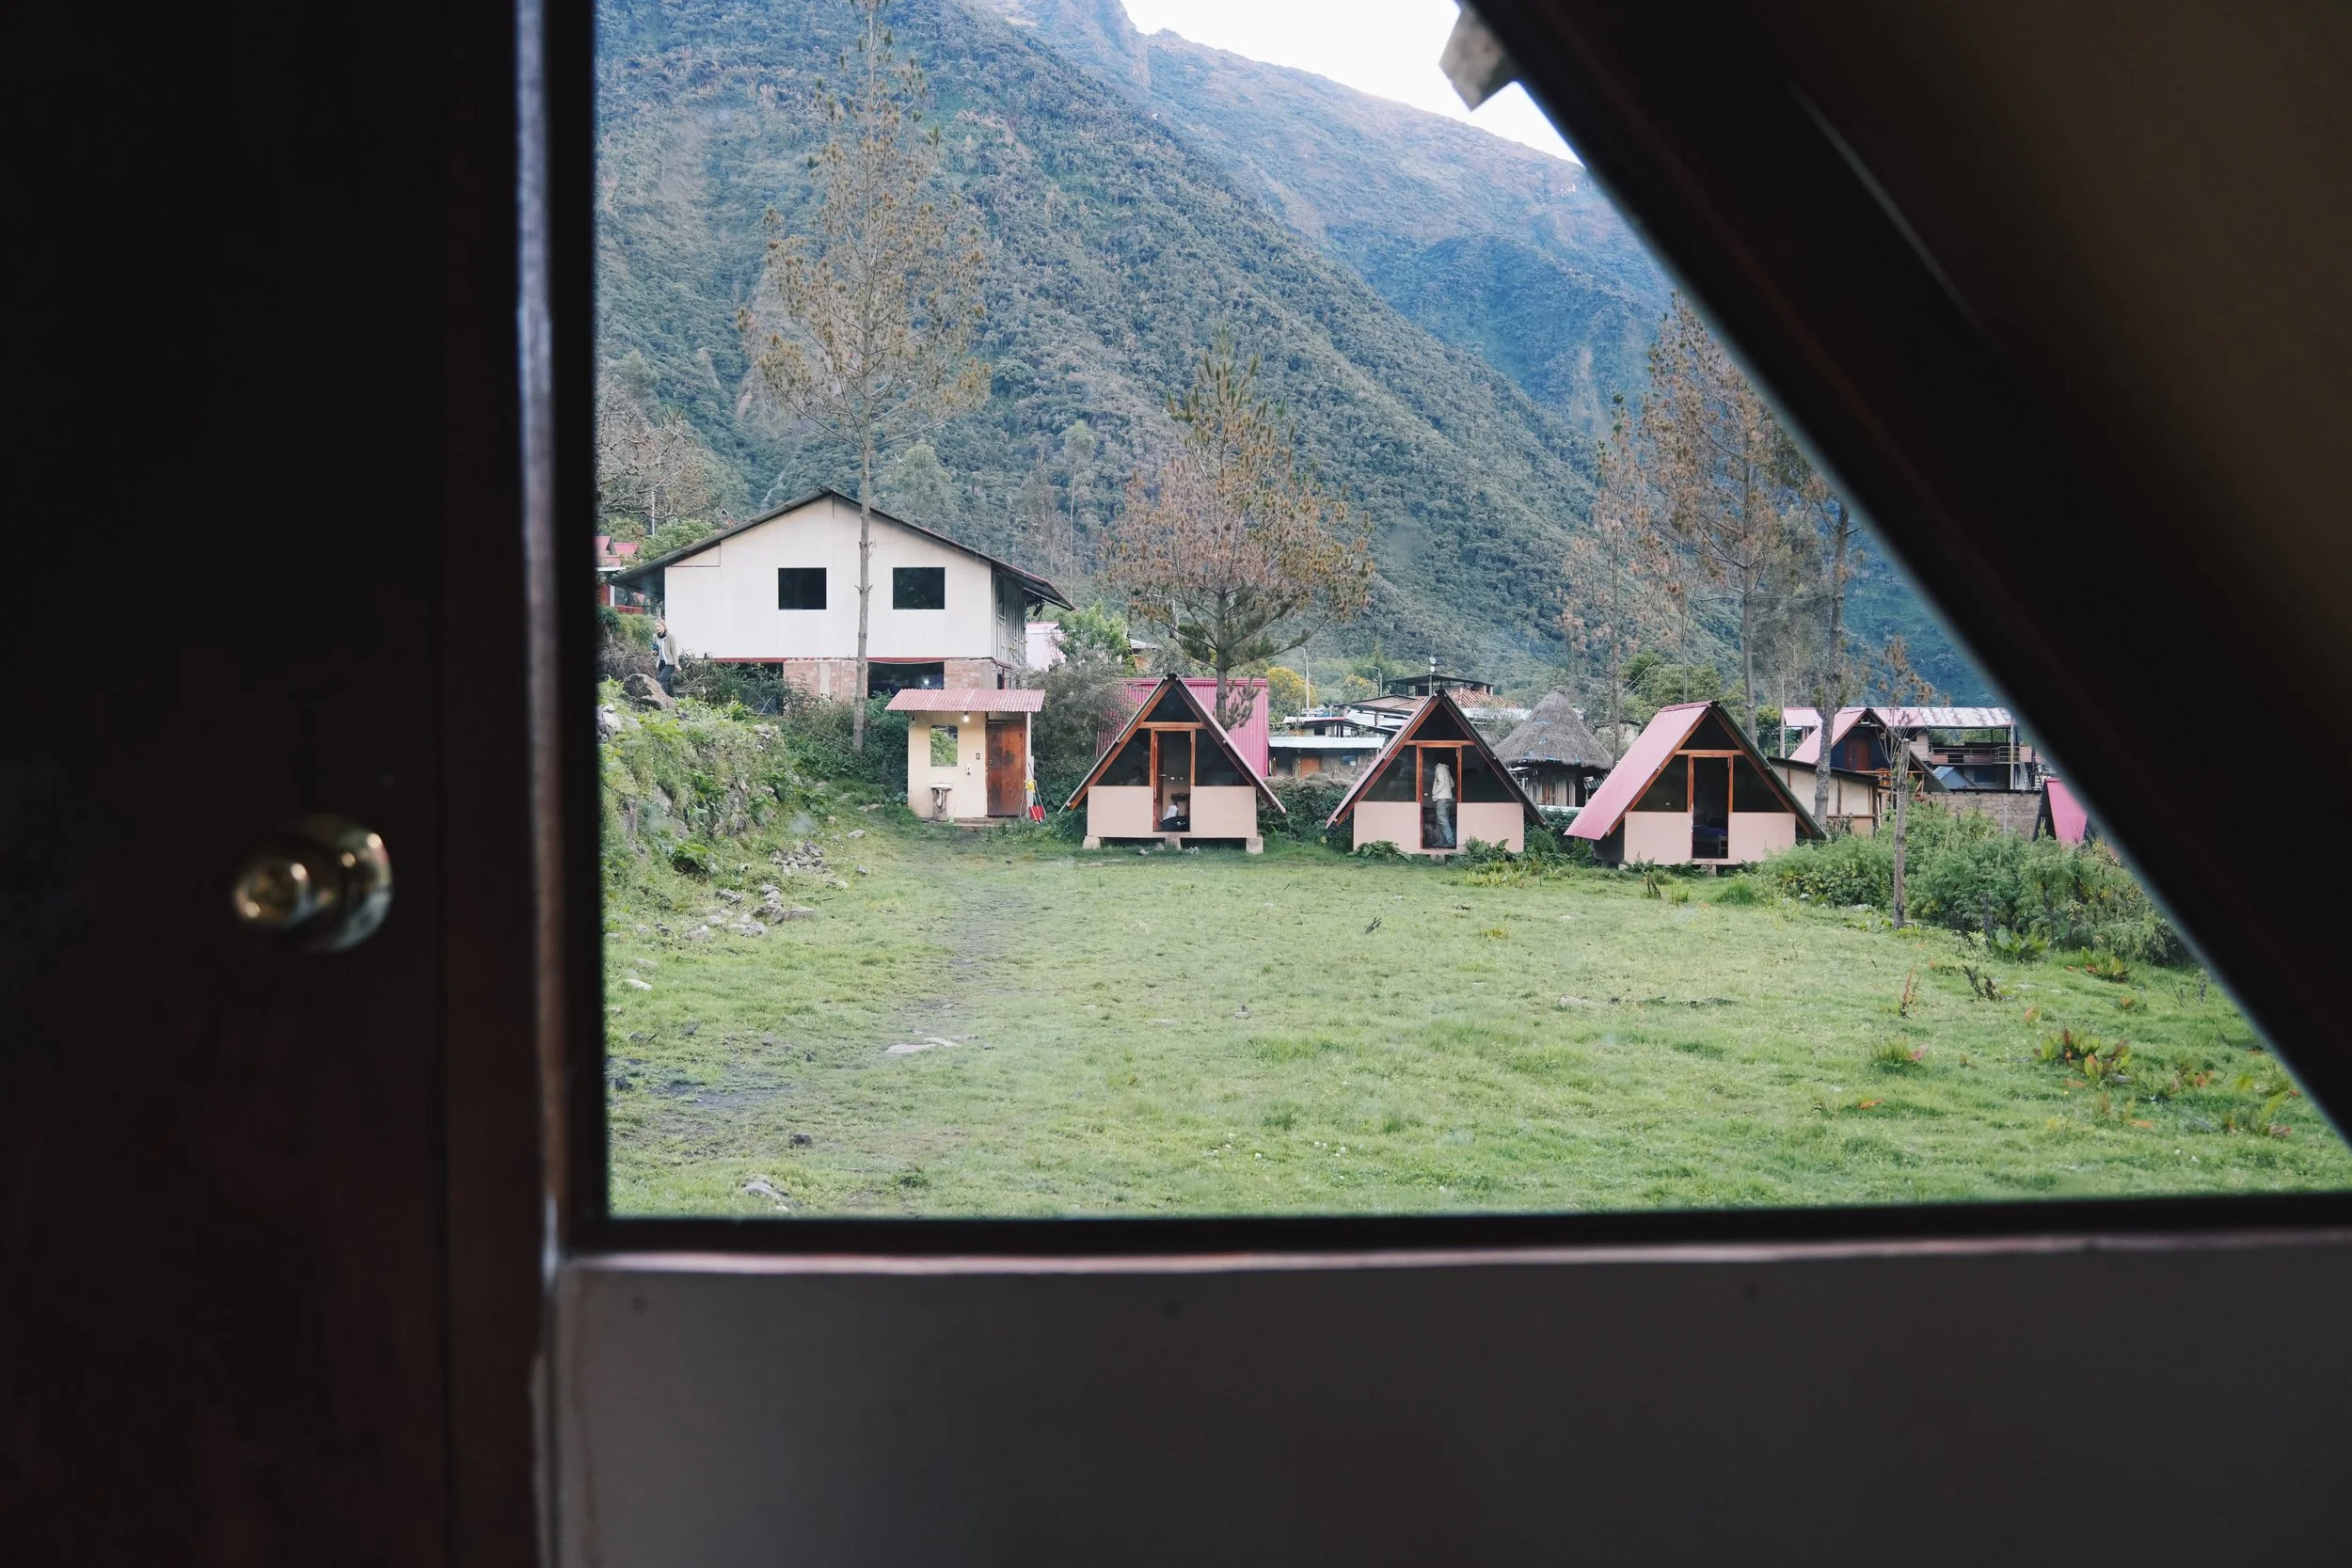
We stayed at Salkantay Glamp for 57 soles (~$16.64 USD) per person, which included a private room shared with my friend, dinner, breakfast, wifi, and hot showers. We booked this in advance here through Booking.com.
There’s also a small store on-site for snacks, water, and other essentials. We were able to request what time we wanted to eat breakfast, and all the self-guided guests opted to eat together.
Day 3: The Mountain Add-On
Most hikers stay in Lucmabamba, which is known for its organic coffee plantations and coffee tours, and we heard wonderful things. However, we were advised to continue for an additional three hours up the mountain to get closer to Aguas Calientes for the following day, since we wanted to reach the ticket office as early as possible.
This ended up being one of our favorite days of the trek. The route was quieter than the previous days — partly because of the rain and because many tour groups skipped sections of the trail- and we walked with friends we had made. Due to landslides, some portions required walking along the dirt road instead of the main trail.
We covered about 15 miles with roughly 3,357 feet of elevation gain. The climb to the campsite was tiring, but the views at the top made it worth it.
Accommodation
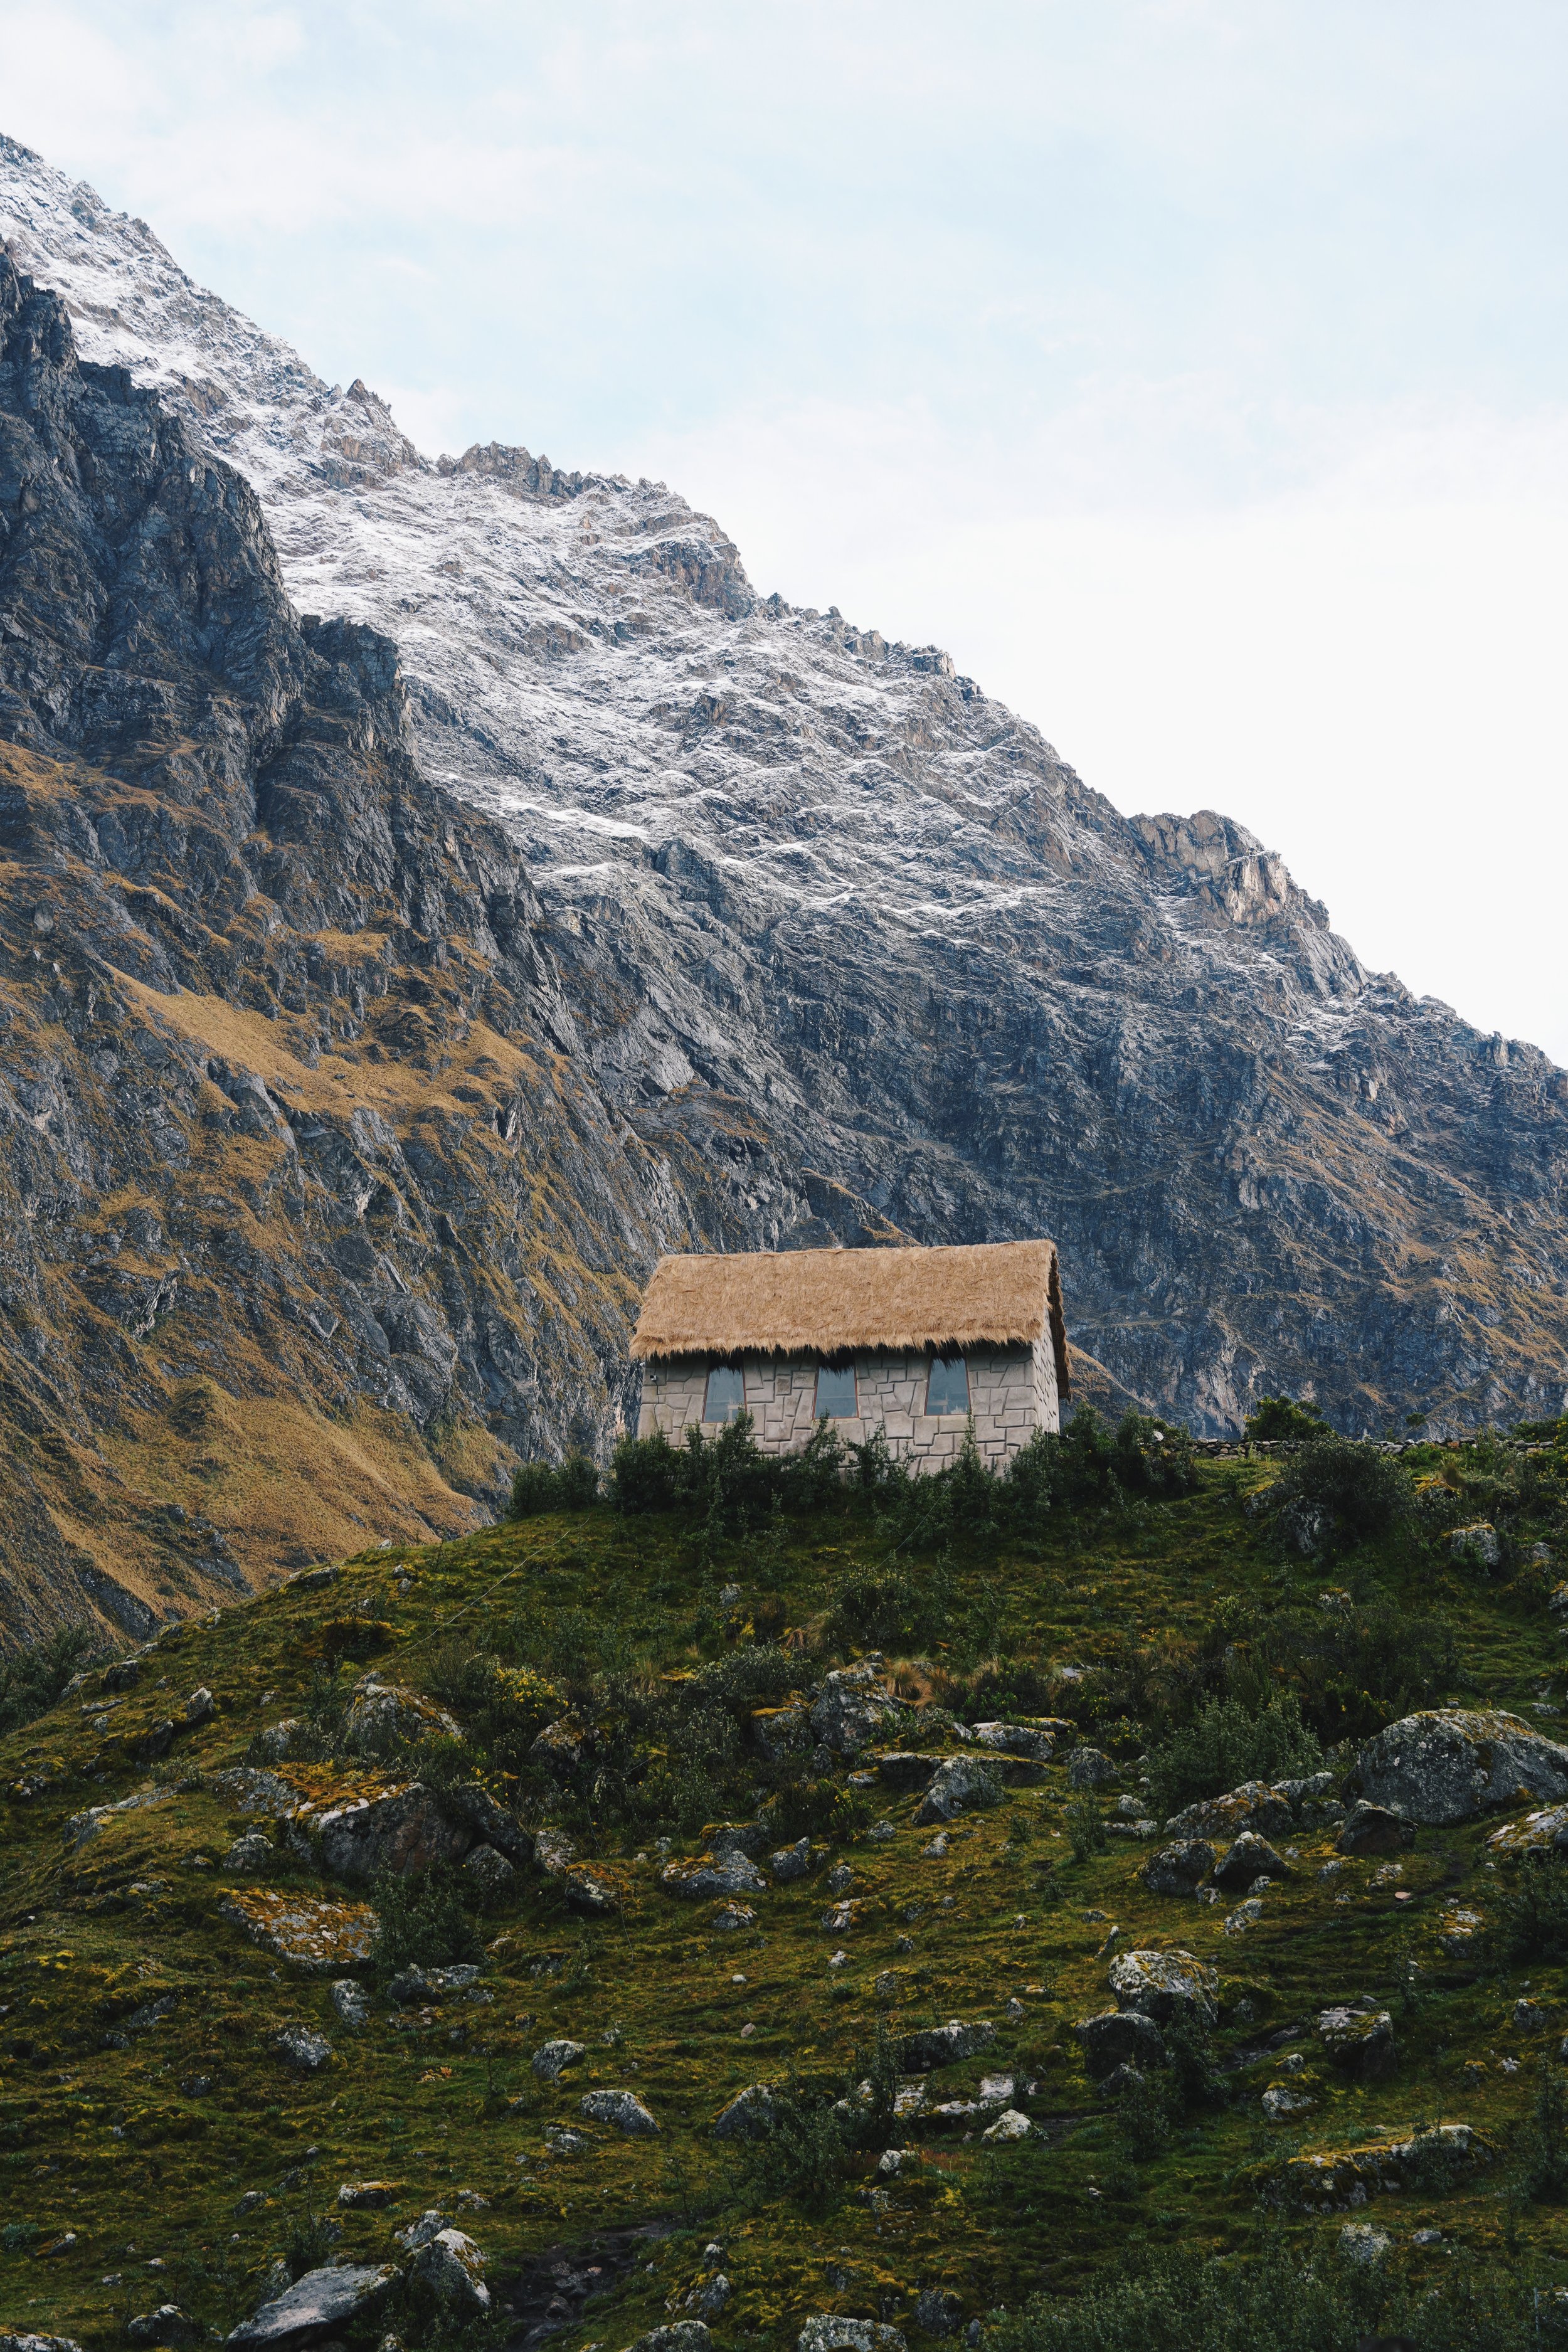
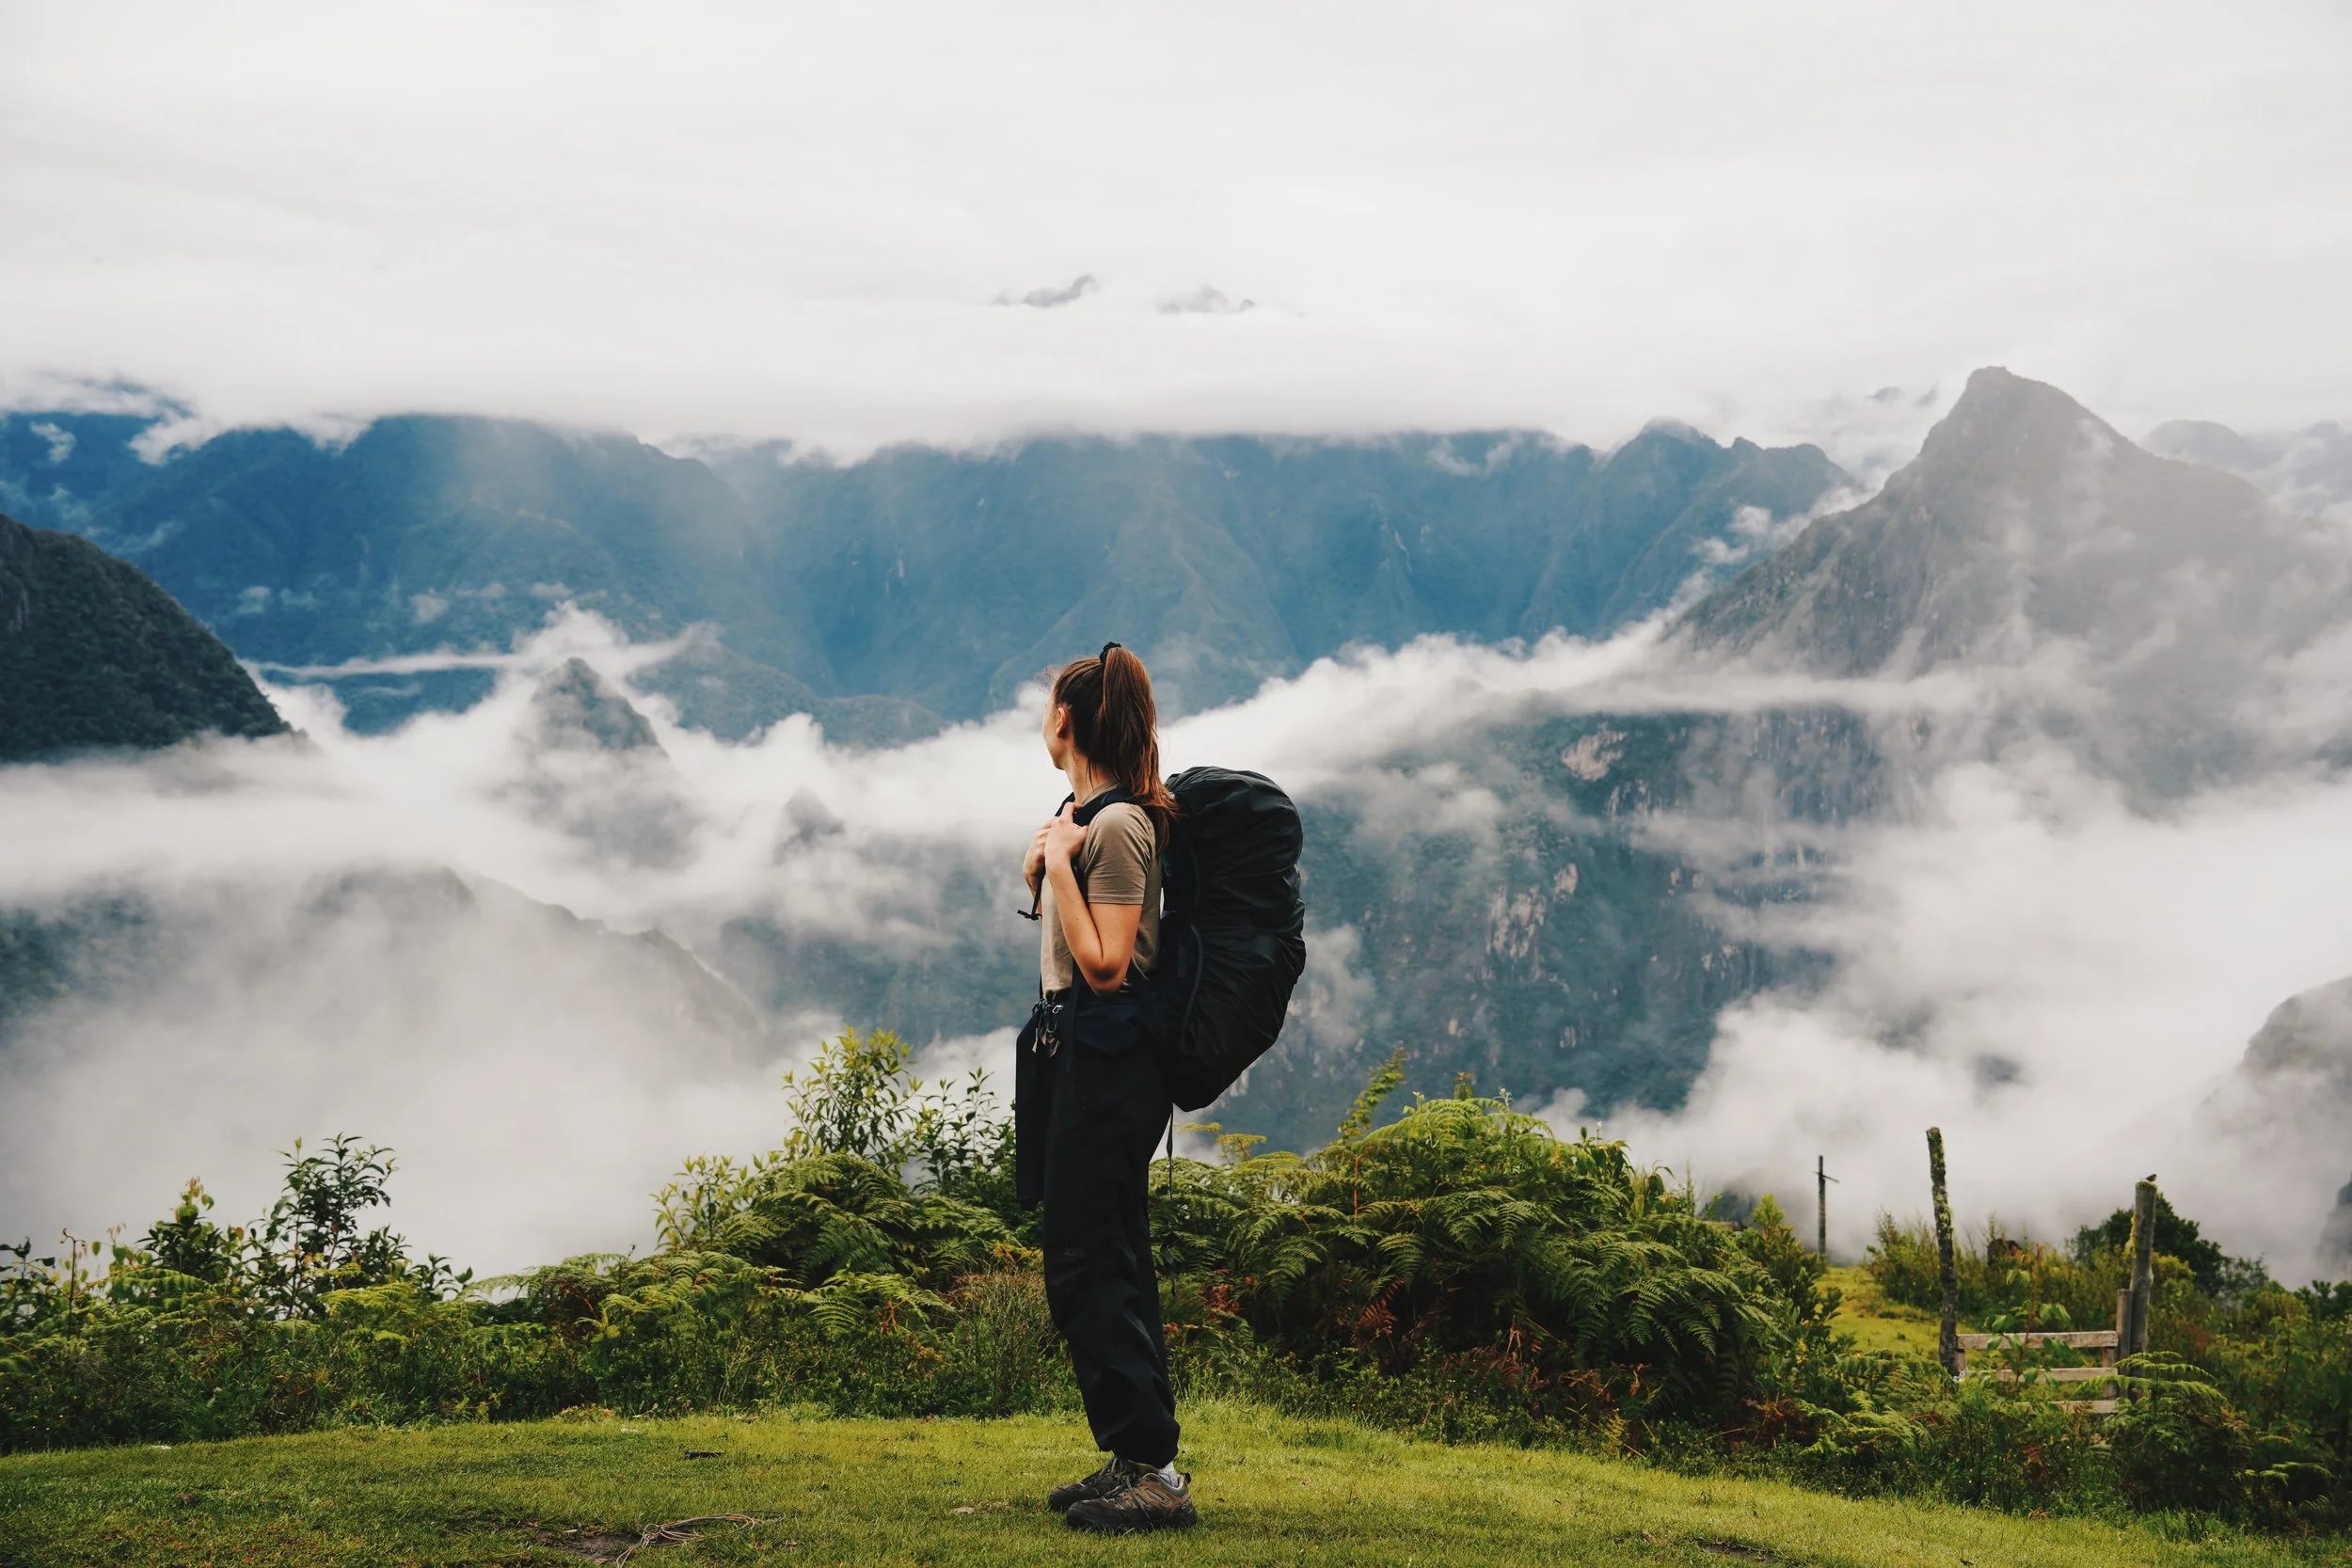
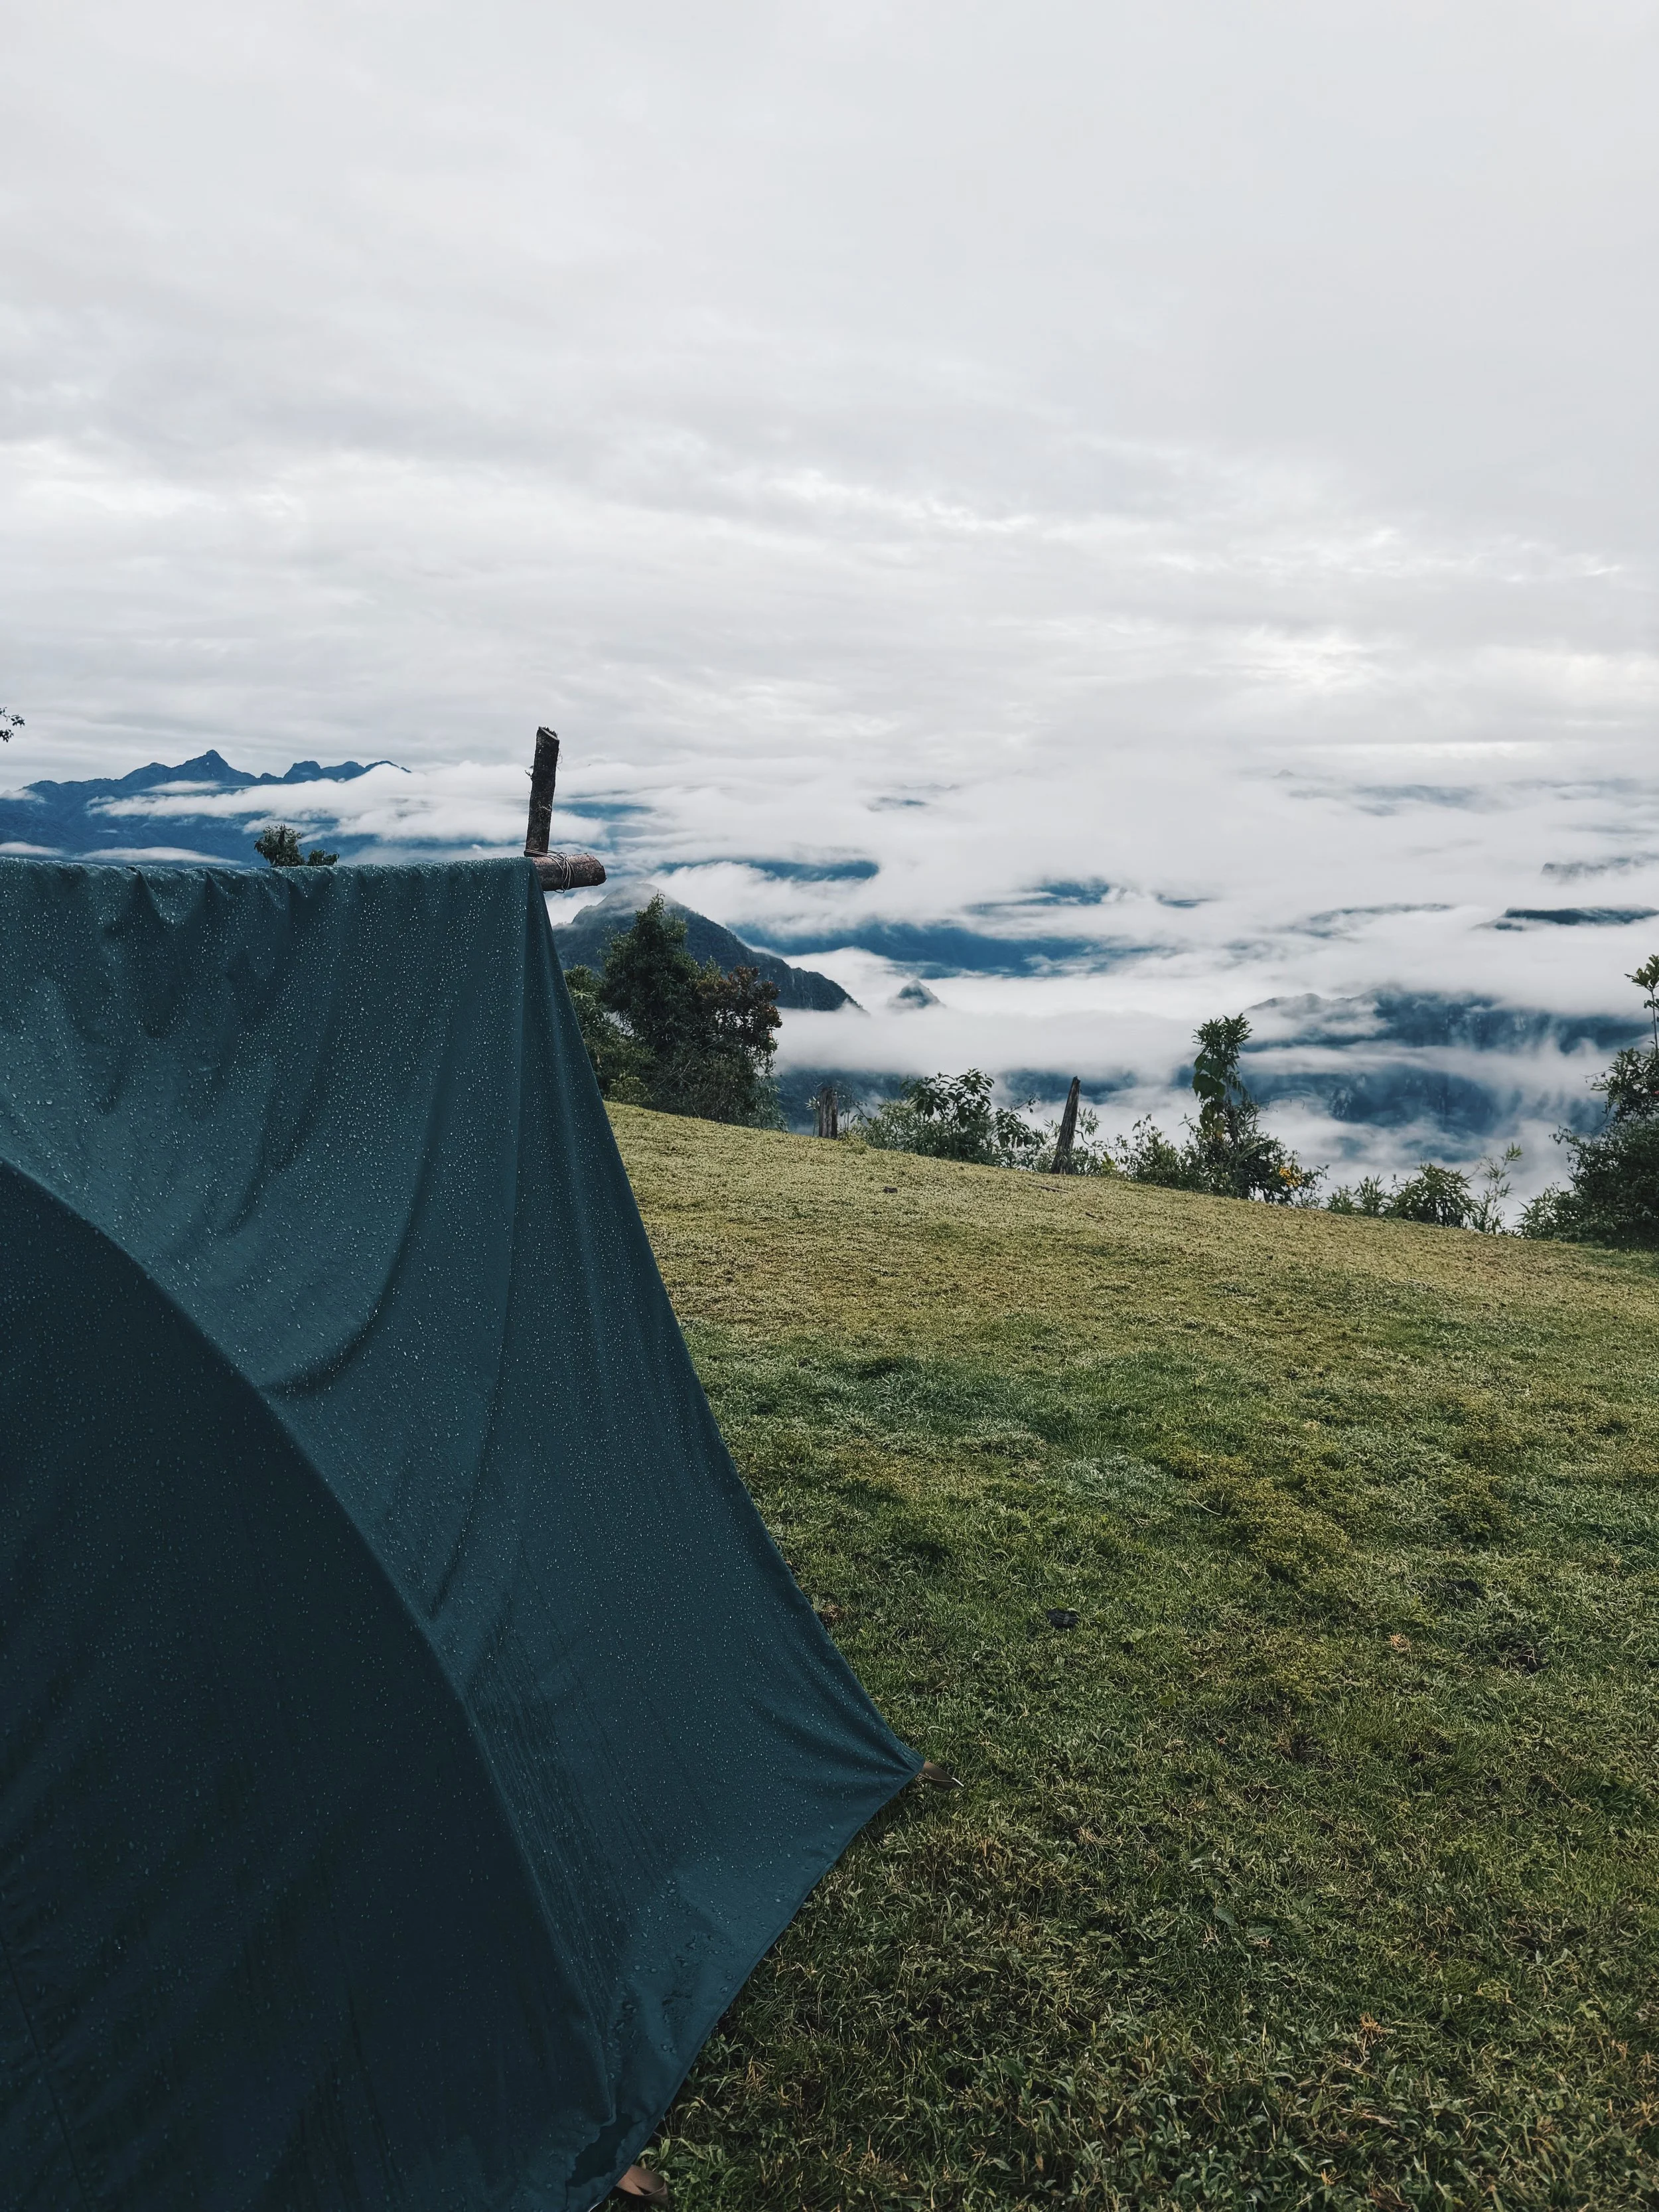
We stayed at Mesa Pata Inca Observatory Camping, Hospedaje, and Restaurant, which offered some of the best views of the entire trek. The property has furnished tents and private cabins, and we chose to share a tent, which was surprisingly comfortable and warm.
I paid 70 soles (~$20.50 USD), which included:
A shared tent with my friend
Wifi
Dinner and breakfast
Hot showers
The most amazing view to wake up to
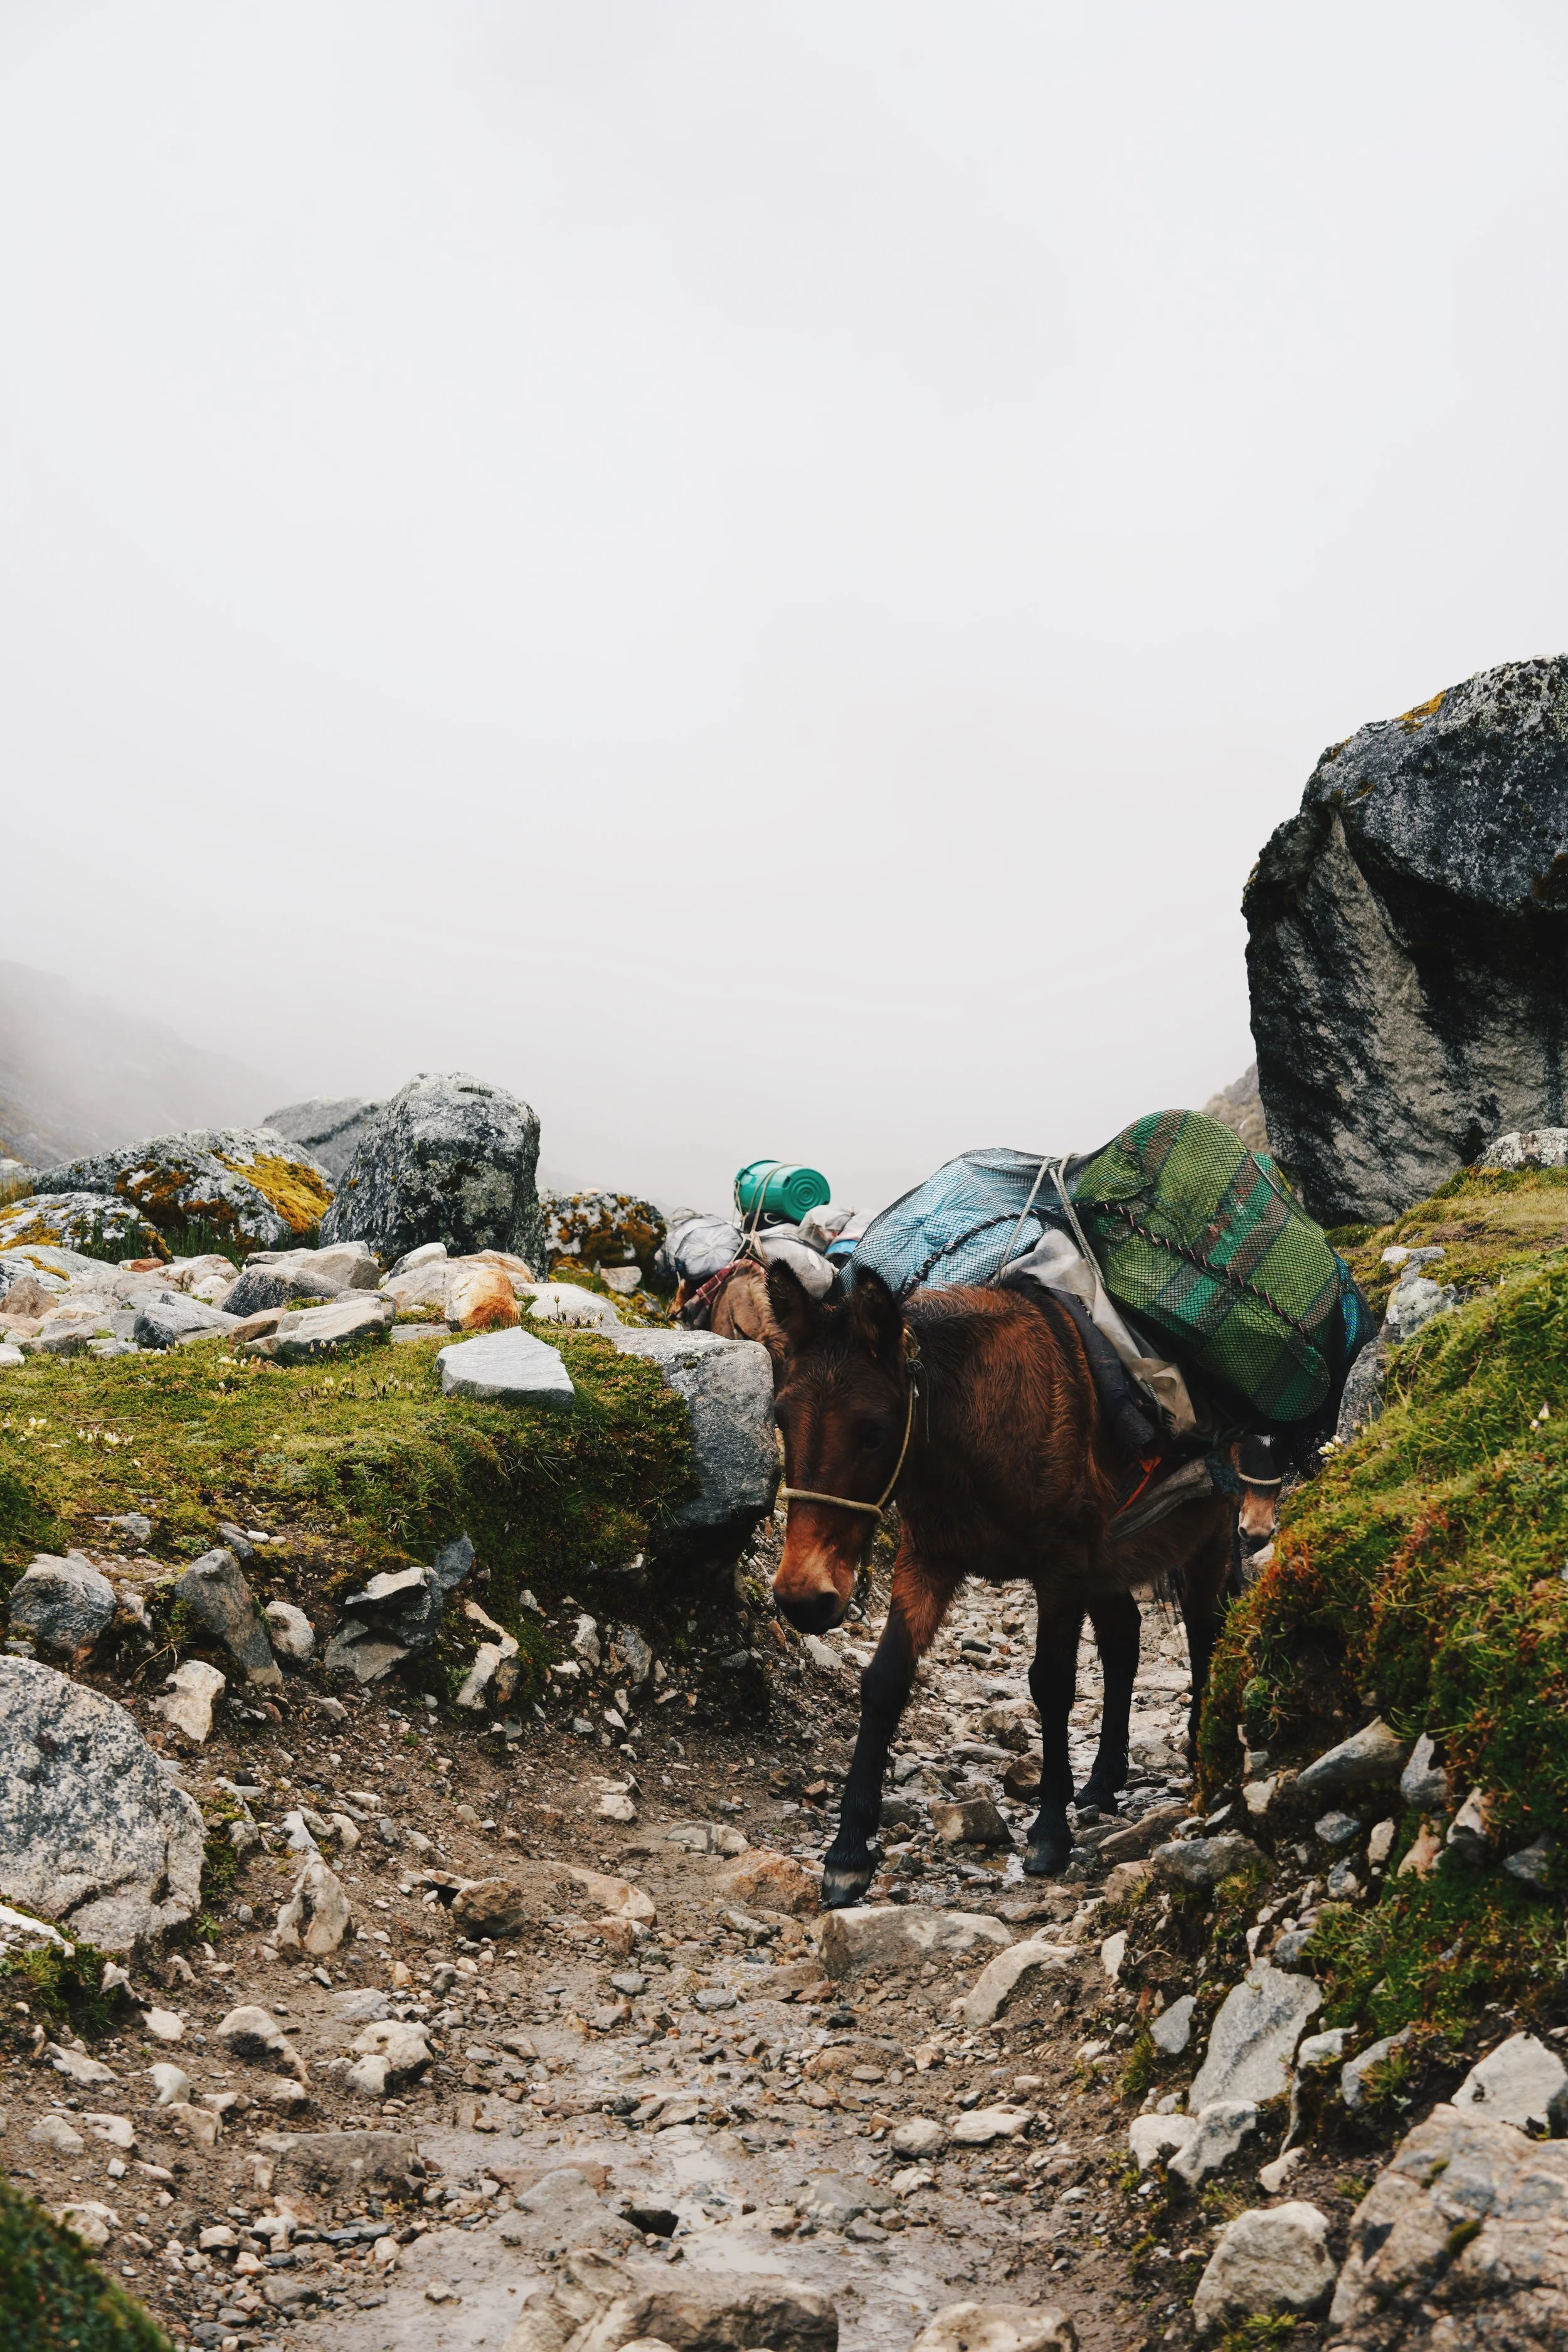
The food here was some of the best of the trip, and the property also had llamas, donkeys, and kittens wandering around, which added to the experience. There’s also a small convenience store for snacks and water. But there is limited electricity. We reserved a tent in advance by contacting them on WhatsApp at +51-946-618-290.
Day 4: Getting Machu Picchu Tickets
From the campsite, it was just under 11 miles to Aguas Calientes, the town below Machu Picchu. The first part of the hike descends the mountain before following the river and train tracks into town. The final stretch is mostly flat, but after several days of hiking, it feels much longer than it sounds, even though we hiked it all in 4 hours total.
Since we didn’t already have tickets for Machu Picchu, our priority was getting to the ticket office as quickly as possible. A limited number of next-day tickets are released each day, and they are tied to specific entry times and circuits. The office is located just to the right of the church in the main square.
Make sure to bring your passport, and credit cards are accepted for payment.
If you arrive without tickets, it’s best to go directly to the ticket office before checking into your accommodation or stopping for food. During high season, lines can begin before sunrise, so if your schedule allows, spending an extra night in town and lining up early the next morning can make the process less stressful than rushing down the mountain.
Aguas Calientes is very tourist-oriented, with restaurant staff constantly trying to bring people inside. One thing to watch for: the 2x1 drink specials are usually only worth it if you’re ordering cocktails. I also recommend getting your tickets for the train or bus back right after securing Machu Picchu tickets.
If you spend the extra night in Aguas Calientes, popular activities include the nearby thermal baths, the Butterfly Zoo, or a day trip to Ollantaytambo.
Accommodation
We stayed at Machu Picchu Royal B&B and paid about $16 USD per person for a private three-person room with its own bathroom and a packed breakfast.
The host was incredibly kind and let us pick up breakfast the night before for our early start. He also lent us an extra headlamp for the hike the next morning, and stored our bags for us until our early afternoon train. We booked in advance here through Booking.com.
Day 5: Visiting Machu Picchu
We had tickets for the 6:00 AM entry slot, which is the first entry time of the day. The early wake-up was completely worth it. Even though there were lots of people behind us, the ruins themselves were still relatively empty, and our photos from the upper viewpoints turned out great.
Since we needed to return to Cusco later that day to catch a night bus, visiting early got us back down to Aguas Calientes by around 9:00 AM.
To finish the hike properly, we walked from Aguas Calientes to the entrance of Machu Picchu instead of taking the bus. The journey takes about 1.5 hours and includes roughly 1,600–1,700 stone steps, many of which we climbed in the dark. It was humid, I brought too many layers, and bug spray would have helped, but reaching the top on foot felt like the perfect way to finish the trek.
If you’d rather skip the climb, buses run constantly between Aguas Calientes and the entrance for around $12 USD each way.
We chose Circuit 2A, which is one of the most popular routes because it includes the classic panoramic viewpoint while also taking you through a large portion of the ruins. The route is about 1.5 km (0.93 miles) long. We didn’t book a guided tour, but guides were available near the entrance.
One important thing to know: the circuits are one-way only, so take your time and enjoy each section as you go.
Afterward, we walked back down to Aguas Calientes instead of paying for the return bus.
The train and bus combination back to Cusco was one of the more expensive parts of the trip. We paid a total of $109 USD. Prices generally increase later in the day, but the train is faster than returning entirely by bus and offers views along the route. You should book this at the train station after arriving in Aguas Calientes and getting tickets (or prior if you have Machu Picchu entrance tickets already). With a 6 am Machu Picchu entrance time, we booked the 1:30 pm train and had plenty of time to eat, walk around more, and grab our backpacks from our hotel before the train.
Things to pack
-Windbreaker + layers depending on the season
-A pair of slides/sandals to change into/shower in
-A dry-fit towel
-At least 400 soles, some accommodations prefer cash
-Shampoo, conditioner, and body wash
-Bug spray + sunscreen
-Snacks like Cliff Bars and trail mix (it can be hard to find healthy snacks other than fruit)
-Electroylites
-Toilet paper + wet wipes
-1, 2, and 5 soles to use the bathroom along the route
-Hiking poles (recommended, but optional)
-Hiking boots + extra hiking socks
-Passport
-Altitude sickness medication and/or cocoa leaves
-A headlamp (recommended, but optional)
Note: You can find occasional bathrooms and people selling water and snacks along the route.
